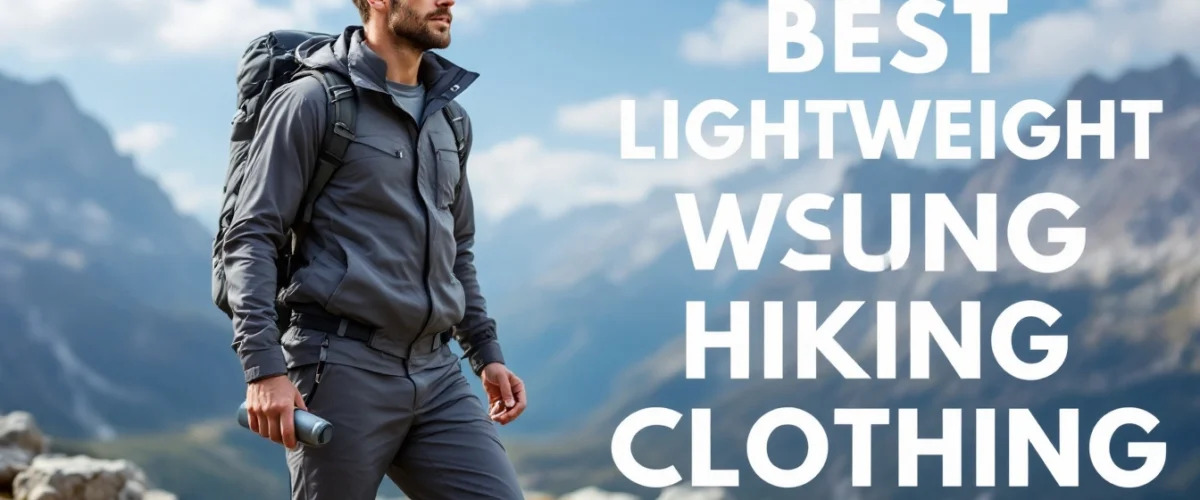
Three miles into a climb, you feel it—your shirt is soaked, your shoulders are warm, and every step rubs just a little more than it should. The pack hasn’t changed, but suddenly it feels heavier. That’s usually not a gear problem. It’s a clothing decision. Choosing the best lightweight hiking clothing isn’t just about shaving ounces; it’s about breathable fabrics, smart layering, and knowing when to add or remove protection. In this guide, I’ll walk you through seven practical Lightweight clothing tips to help you stay cool, dry, and comfortable on real trails—whether you’re heading out for a quick day hike or a multi-day trek with changing weather.
Table of Contents
- Why Lightweight Clothing Matters on the Trail
- Tip 1–2: Choose Smart Base Layers & Breathable Fabrics
- Tip 3: Master the Lightweight Layering System
- Tip 4: Pick Weather-Ready Outerwear Without Bulk
- Tip 5: Focus on High-Impact Weight Zones
- Tip 6: Adapt Clothing to Season and Location
- Tip 7: Balance Weight, Durability, and Budget
Why Lightweight Clothing Matters on the Trail
Clothing is the layer you feel every second. When it’s right, you forget about it. When it’s wrong, it drains energy.
How Clothing Weight Affects Energy & Comfort
Heavy, non-breathable clothing traps heat. You sweat more, your base layer clings, and your pack straps press damp fabric into your shoulders. Within the first mile, you may notice tension building across your upper back. That’s often a layering issue, not a fitness one.
Lighter fabrics that move moisture away from your skin help regulate temperature. If you feel chilled the moment you stop for a break, your clothing likely isn’t drying fast enough.
The Difference Between “Light” and “Right for Conditions”
Ultralight sounds appealing, but “light” isn’t always “right.” Saving a few ounces doesn’t matter if your shell can’t handle sudden rain. In uncertain forecasts, prioritize protection first. It’s better to carry a slightly heavier reliable layer than to gamble on minimal coverage.
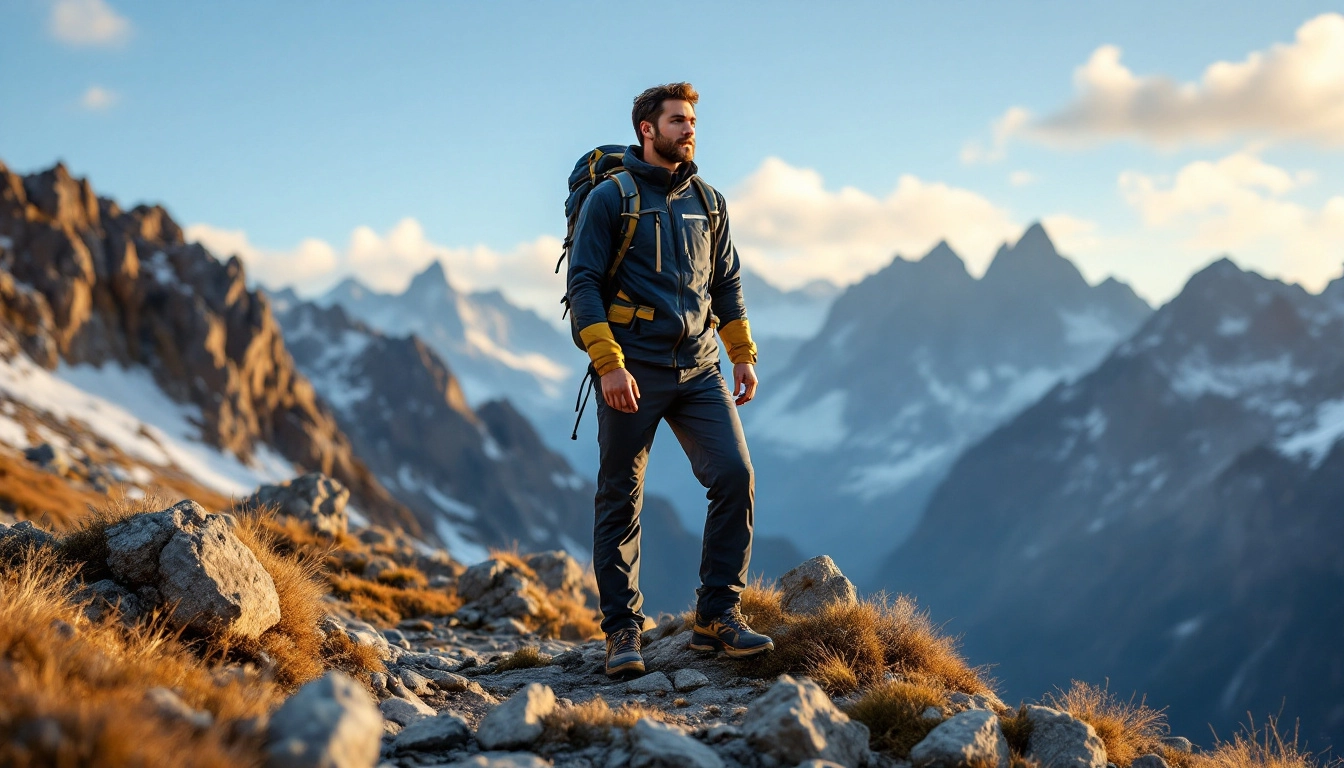
Tip 1–2: Choose Smart Base Layers & Breathable Fabrics
The foundation of the best lightweight hiking clothing setup is your base layer. If it fails, everything else feels off.
Moisture-Wicking vs Cotton (And Why Cotton Fails on Trail)
Cotton absorbs moisture and dries slowly. On a warm ascent, that means a soaked shirt. On a breezy summit, it means a cold one. If your shirt feels clammy during a rest stop, fabric choice is likely the issue.
Instead, look for moisture-wicking hiking shirts made from synthetic fibers or merino wool. They’re built to pull sweat away from your skin so it can evaporate.
Merino vs Synthetic: Real-World Trade-Offs
Merino wool resists odor and feels soft, making it ideal for multi-day hikes with limited washing. It insulates even when damp but can take longer to dry.
Synthetic fabrics dry faster and are often more durable, usually at a lower price point. However, they can hold odor after repeated use.
On a three-day trek with cool nights, merino is comfortable and practical. On a hot, high-output hike where drying speed matters most, synthetic may win.
Fit and Ventilation Details That Actually Matter
Raise your arms overhead when trying on a shirt. If it pulls at your shoulders, it’ll annoy you under a pack. Check seams where your hipbelt sits—flat seams reduce friction.
Useful features include:
- Underarm mesh panels
- Quarter or half-zip necks for venting
- Articulated sleeves for free movement
Tip 3: Master the Lightweight Layering System
Among the most effective lightweight gear strategies for cutting pack weight is this: build a simple, adjustable system instead of packing bulky backups.
The 3-Layer System (Base, Insulation, Shell)
Stick to three core layers:
- Base layer: Moisture management.
- Insulation: Retains warmth (fleece or lightweight puffy).
- Shell: Blocks wind or rain.
Each piece should work independently. Avoid thick, single garments that can’t adapt.
When to Add or Remove Layers (Trail Judgment Cues)
Start slightly cool. If you’re warm at the trailhead, you’re overdressed. Remove a layer before a steep ascent. Add one the moment you stop for more than a few minutes.
If sweat is pooling at your lower back, strip a layer early. Waiting too long usually means you’ll need a full clothing reset.
Packing Strategy for Quick Changes
Store your windbreaker in an outer pocket, not buried under food or extra gear. Weather shifts quickly in exposed terrain. Accessibility often matters more than shaving a small amount of pack weight.
Tip 4: Pick Weather-Ready Outerwear Without Bulk
Windbreakers vs Rain Shells
Windbreakers are lighter and more breathable, ideal for dry but gusty ridgelines. Rain shells provide waterproof protection but may feel less breathable during high output.
Before choosing, check the official forecast through the NOAA National Weather Service. Don’t rely solely on a generic phone app—conditions can change quickly, especially in mountains.
Features Worth the Weight
- Adjustable hood that moves with your head
- Pit zips for ventilation
- Elastic or adjustable cuffs to seal drafts
Fair-weather hikers can skip heavy storm features if forecasts are stable. But never skip waterproof protection in regions known for sudden changes.
Safety Note: Check Official Weather Guidance Before You Go
National parks and public lands often publish safety reminders. Review hiking safety tips from the National Park Service hiking guidance before major trips. Preparation is part of your clothing system.
Tip 5: Focus on High-Impact Weight Zones
Footwear and Socks
Lightweight boots offer ankle protection; trail runners feel nimble and dry faster. The right choice depends on terrain and load. Prioritize fit and blister prevention over small weight differences.
Choose moisture-wicking socks with cushioning where you need it. A blister can end a hike faster than extra ounces ever will.
Pants, Shorts, and Convertible Options
Quick-dry fabrics are valuable for stream crossings or unexpected rain. Convertible zip-offs provide flexibility but add seams and slight weight. If you rarely use the lower section, simple hiking pants may be better.
Accessories That Add Up
A lightweight hat, buff, or sun gloves weigh little but make a noticeable difference in exposed terrain. In stable summer conditions, skip redundant extras. In alpine sun, never skip protection.
Tip 6: Adapt Clothing to Season and Location
Hot Weather Strategy
Choose breathable hiking clothes with sun protection. Light-colored fabrics reduce heat absorption. Long sleeves made from thin, airy material can protect skin while keeping you cooler than direct sun exposure.
For heat safety guidance, review recommendations from the CDC’s extreme heat safety page. Adjust clothing and hydration accordingly.
Cold & Shoulder Seasons
Layer insulation based on activity. During movement, a light fleece may be enough. At camp or long breaks, add a compressible insulated jacket. Manage moisture carefully—damp layers increase chill once you stop.
Check Local Park or Trail Guidance
Conditions vary by region. Snowfields can linger into late spring at elevation. Local advisories may suggest specific precautions. Always review park or land management updates before finalizing clothing choices.
Tip 7: Balance Weight, Durability, and Budget
When Cheap Lightweight Gear Costs More Long-Term
Thin fabrics can wear quickly around inner thighs or beneath shoulder straps. If you hike regularly, durability matters. Replacing worn gear every season often costs more than investing in reliable materials upfront.
Smart Upgrades vs Marketing Gimmicks
Ask a simple question: will this feature matter after five miles? Extra pockets and flashy trims add complexity. Focus on breathable fabrics, solid stitching, and proven performance.
Building the Best Lightweight Hiking Clothing Kit Over Time
Start with base layers and footwear. These directly affect comfort and blister prevention. Upgrade shells and insulation gradually as your hiking frequency increases, especially as you refine your overall ultralight backpack setup.
Checklist
- Base layer: moisture-wicking, proper fit
- Insulation: matches season and compressible
- Shell: wind or rain protection appropriate to forecast
- Bottoms: flexible, quick-dry
- Socks: blister-resistant and trail-tested
- Accessories: sun and weather relevant
- Weather checked via official source
- Packed for access, not just minimal weight
Common Mistakes
- Wearing cotton on longer hikes
- Over-layering before uphill sections
- Ignoring local weather advisories
- Buying ultralight gear without durability consideration
- Forgetting sun protection in alpine or open terrain
- Not testing clothing on short hikes before longer trips
Frequently Asked Questions
What is the best lightweight hiking clothing for beginners?
The best lightweight hiking clothing for beginners includes a moisture-wicking base layer, simple insulation like fleece, a reliable wind or rain shell, and comfortable trail shoes. Focus on fit and layering before worrying about ultralight labels.
How do I choose the best lightweight hiking clothing for hot weather?
Prioritize breathable, light-colored fabrics and sun protection. Look for ventilation features like mesh panels or zip necks. Start slightly cool and adjust layers quickly as temperatures rise.
Are merino wool shirts better than synthetic for lightweight hiking?
It depends on the trip. Merino controls odor well and is comfortable over several days. Synthetic dries faster and may be more durable. Match your fabric to expected conditions and trip length.
What are the most practical Lightweight clothing tips for multi-day hikes?
Pack versatile layers, avoid cotton, and choose fabrics that dry overnight. Limit duplicates, but never cut essential protection. Test your system before committing to longer distances.
Can lightweight clothing still keep you warm in cold conditions?
Yes—when layered correctly. A moisture-wicking base, efficient insulation, and a protective shell can provide warmth without excess bulk. Adjust as activity levels change to prevent overheating and chilling.
How many layers should I pack for a day hike?
Typically three: base, insulation, and shell. Add or subtract based on weather and terrain, but keep the system simple and adaptable.
Is expensive gear necessary to build the best lightweight hiking clothing setup?
No. Start with quality essentials and upgrade gradually. Durable, well-fitting basics outperform trendy ultralight pieces that don’t hold up on trail.
Conclusion
The best lightweight hiking clothing isn’t about carrying the least fabric possible. It’s about making smart, trail-tested choices that balance breathability, weather protection, and durability. Review your current kit against the checklist above. Start slightly cool, adjust early, and always confirm conditions before you go. Test new pieces on short hikes before committing to longer trips. When your layers work with you instead of against you, every mile feels smoother—and that’s what really lightens the load.