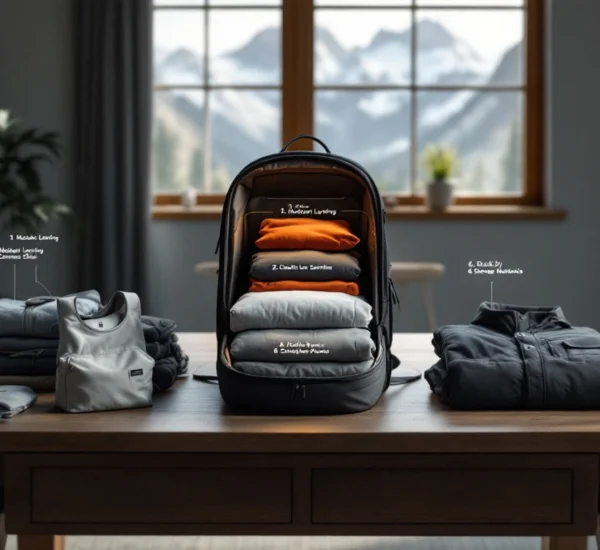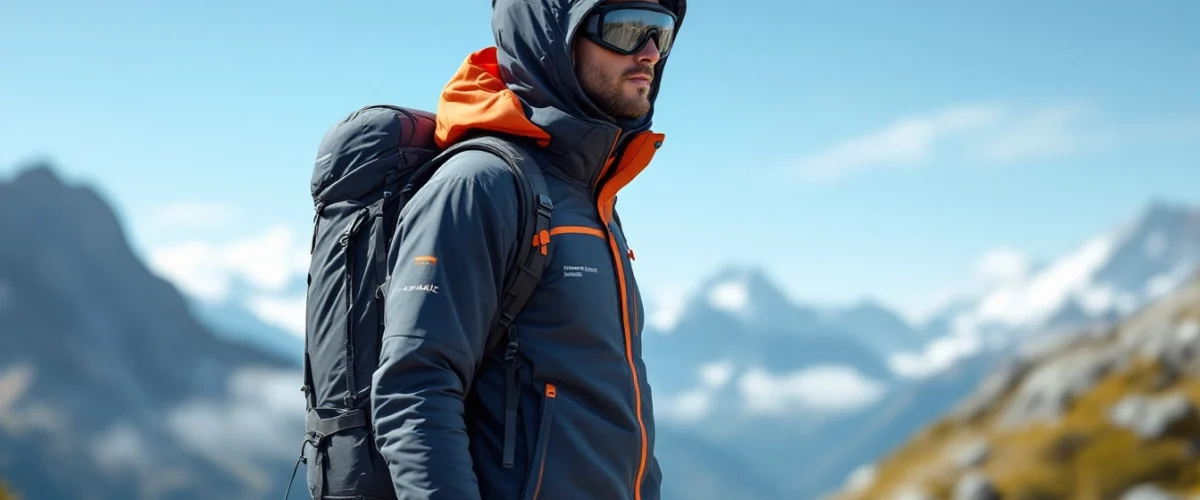
You crest a long uphill just as the sun drops behind the ridge. Ten minutes ago you were sweating through your shirt. Now a cold breeze slides across camp and you’re shivering while pitching your tent. Dialing in ultralight camping clothing layers is what keeps that swing from turning miserable—or risky. The goal isn’t to pack less clothing at any cost. It’s to cut weight without cutting the wrong things.
In this guide, you’ll get seven field-tested lightweight hiking clothing tips for smarter layering for building a smarter layering system in 2026. We’ll break down how to choose base, mid, and shell layers, how to read fabric specs without falling for buzzwords, when to adjust for shoulder season, and what you can confidently leave at home. Expect practical decision rules, not marketing hype.
Table of Contents
- Base Layers That Actually Manage Sweat
- Mid Layers: Warmth Without Bulk
- Shell Layers for Rain, Wind, and Real Weather
- Camp and Sleep Layers: Comfort for Ounces
- Fabric Choices & Weight Trade-Offs (Lightweight clothing tips)
- Seasonal Adjustments for 3-Season and Shoulder Trips
- How to Pack and Rotate Layers on the Trail
- Checklist
- Common Mistakes
- Frequently Asked Questions
- Conclusion
- Sources
Base Layers That Actually Manage Sweat
Your base layer does one job: manage moisture so you’re not wet when activity drops. If sweat sits on your skin, you’ll cool off fast—especially in wind.
Merino vs. Synthetics: Quick Decision Rules
Choose merino when you’re out for several days and odor control matters. It’s comfortable across a wide temperature range and doesn’t stink quickly.
Choose synthetics when drying speed is critical—humid forests, frequent rain, or trips where you wash and dry mid-route. Most synthetics shed moisture faster once the sun hits.
Here’s a simple home test: wear the shirt during a hard workout, then stop moving. How long until you feel dry? If it still feels clammy after 10–15 minutes, reconsider using it as your only base layer in cool weather.
Fit and Ventilation Over Fabric Marketing
Slightly relaxed fits allow airflow. A skin-tight “performance cut” can trap sweat against your torso. Zip-necks let you vent immediately on climbs. Thumb loops help seal sleeves under a shell in wind.
If you consistently overheat, prioritize ventilation features over claims about miracle fibers. Fabric matters—but on-trail adjustment matters more.
One vs. Two Base Layers?
In peak summer, one worn layer is often enough. For shoulder season, pack a second lightweight top dedicated to camp or sleep.
Trade-off: redundancy adds ounces, but a dry layer at night can dramatically improve recovery. If lows are near your comfort limit, the extra piece earns its place.
Mid Layers: Warmth Without Bulk
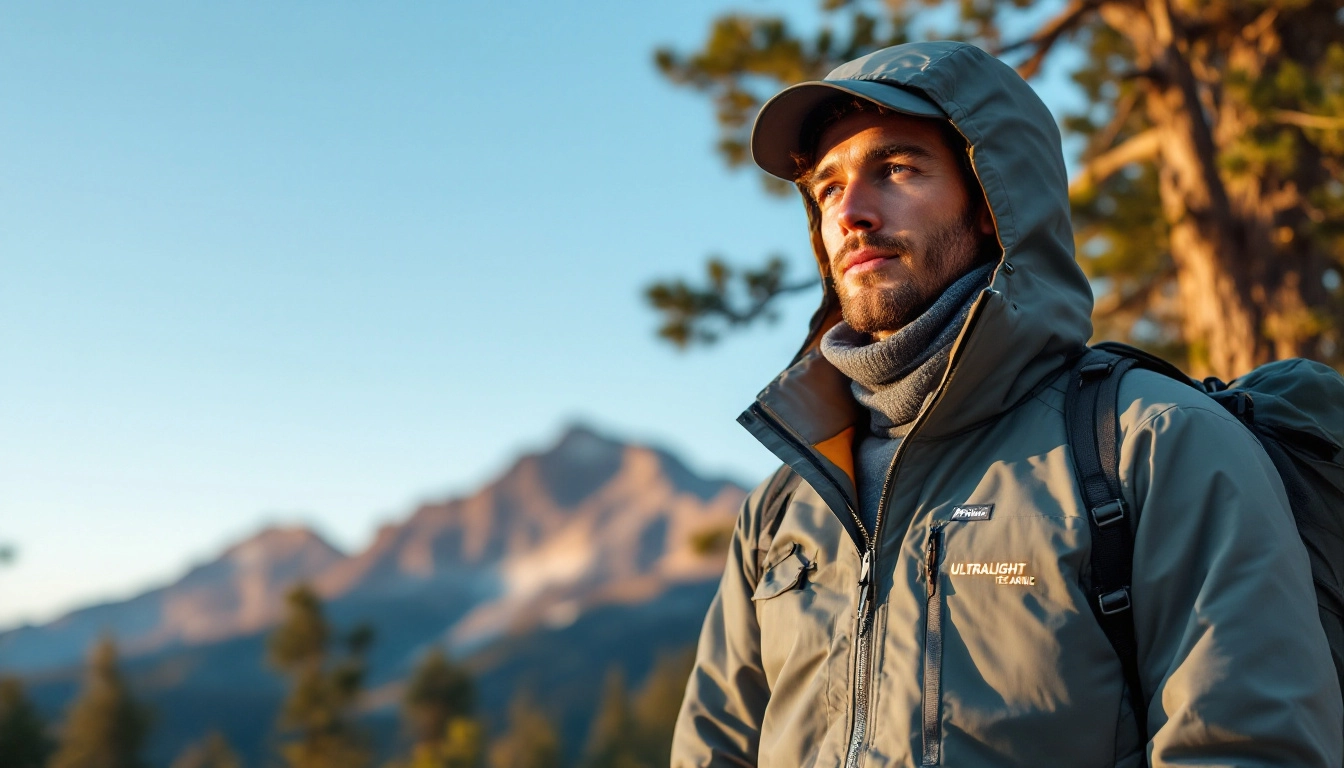
Your mid layer provides insulation. The mistake? Hiking hard in it and soaking it through.
Fleece vs. Ultralight Down vs. Synthetic Insulation
Fleece: Breathable, durable, and forgiving if damp. Bulkier for the warmth.
Ultralight down: Excellent warmth-to-weight and compressibility. Loses loft when wet and demands more care.
Synthetic insulation: Retains warmth better than down when damp, usually slightly heavier for the same warmth.
Experience cue: If your insulation gets sweaty on uphill pushes, how forgiving is it? Fleece shrugs off that moisture. Down does not.
Active vs. Static Insulation Strategy
Have one layer you’re willing to hike in briefly and another reserved for camp. If you sweat heavily in a jacket while moving, it’s not a true rest layer.
A common system: fleece or breathable synthetic while moving, ultralight down pulled on immediately at camp.
Weight-to-Warmth Reality Check
Fill power and fabric weights can be useful—but verify specs directly from the manufacturer before comparing. Higher numbers don’t automatically mean warmer performance if the garment has minimal fill.
A quick gut check: does this piece meaningfully extend your comfort range? If it only adds slight warmth, it may not justify its weight.
Shell Layers for Rain, Wind, and Real Weather
Shells keep wind and precipitation from stripping heat away. Skipping proper protection to save ounces can escalate into a safety issue.
Rain Jackets: Waterproof vs. Water-Resistant
Waterproof shells typically include sealed seams and designed ventilation. Water-resistant layers handle light showers but will wet through in sustained rain.
Before trimming shell weight, check the official forecast through the NOAA National Weather Service or the relevant local authority. Mountain weather shifts quickly, and wind-driven rain can overwhelm minimalist gear.
Windbreakers: The Unexpected MVP
A 3–5 oz wind layer can extend your comfort range dramatically. It blocks convective heat loss during breezy ridgeline hikes and makes a light fleece far more effective.
Trade-off: ultrathin fabrics can snag in brush-heavy terrain. If your route involves scrambling or dense vegetation, durability matters.
Layering for Sudden Storms
Keep shells accessible. When the temperature drops or clouds build, add protection early—before you’re chilled.
Review park-specific safety guidance before backcountry travel via official resources like the National Park Service safety guidelines. Knowing local hazards helps you choose the right balance between minimalism and preparedness.
Camp and Sleep Layers: Comfort for Ounces
Even disciplined ultralighters should plan for recovery time. Nights are when your body resets.
Dedicated Sleep Clothes: Yes or No?
Dedicated sleep layers improve hygiene and preserve your primary base layer for hiking. They also add a small warmth boost inside your bag.
Super-ultralight approach: reserve your dry backup base layer strictly for camp and sleeping. If your hiking shirt is dry enough by evening, you can rotate. If not, you’ll be glad for the spare.
Socks, Beanies, and Small High-Impact Items
Warm socks and a lightweight beanie often weigh less than an extra bulky layer—and can make a big difference. Cold sleepers benefit disproportionately from these small items.
If you routinely wake up cold, add insulation to extremities first before upgrading your main jacket.
Managing Damp Clothing Overnight
Air items out before dark. If conditions allow, hang them where airflow helps. Avoid drying clothes too close to open flames and confirm campsite fire regulations through official park websites.
In cool conditions, placing slightly damp items inside your sleeping bag (not soaked) can help dry them with body heat—but only if it won’t chill you.
Fabric Choices and Weight Trade-Offs (Lightweight clothing tips)
Smart lightweight camping clothing strategies start with understanding materials, not chasing the lowest gram count.
Reading Garment Specs Without Falling for Buzzwords
Look for measurable data: fabric weight (GSM), denier for shell durability, fill power and fill weight for insulation. Cross-check claims on manufacturer pages rather than relying on promotional summaries.
If a product avoids specifics, that’s a signal to dig deeper.
Durability vs. Gram Counting
Thinner fabrics save weight but wear faster on rocky or abrasive routes. Replacing fragile gear every season can cost more than carrying a slightly heavier, tougher piece.
If most of your trips are on well-maintained trails, go lighter. Off-trail or alpine terrain? Consider durability part of your safety margin.
Budget Strategy for Ultralight Upgrades
Upgrade the heaviest items that deliver the biggest warmth return first—often insulated jackets or rain shells.
Buy for the climate you actually camp in. If you stick to mild 3-season conditions, you don’t need expedition-level insulation.
Seasonal Adjustments for 3-Season and Shoulder Trips
Hot-Weather Minimalist Setup
Prioritize sun protection: long sleeves, brimmed hat, breathable fabrics. Minimal layers don’t mean exposing skin to relentless UV.
Bug pressure can also dictate coverage. A light long-sleeve shirt may weigh only slightly more than a tee but save constant irritation.
Shoulder Season Add-Ons
Add lightweight gloves and thermal leggings when nighttime temps drop. These small items expand your 3-season camping layers into early spring or late fall territory.
Before committing, review seasonal advisories via official park or government websites such as Parks Canada’s camping and backcountry safety guidance if applicable to your destination.
How to Pack and Rotate Layers on the Trail
Top-of-Pack Rule
Rain shell and insulation go near the top. You should reach them within seconds. Weather seldom waits politely.
Moisture Management Strategy
Change into dry layers immediately at camp before cooling down. Even a slight chill can linger into the night.
Daily Clothing Reset Routine
Each morning: shake out debris, reassess dampness, and do a quick 60-second body temperature check. Are you slightly cool? Start hiking that way—you’ll warm up faster.
Checklist
- ☐ One moisture-wicking base layer (tested before trip)
- ☐ One active mid-layer
- ☐ One static insulation layer
- ☐ Wind or rain shell (based on verified forecast)
- ☐ Sleep/camp warmth boost item (hat or dry socks)
- ☐ No redundant “just in case” duplicates
- ☐ Weather forecast checked via official source
- ☐ Fire and drying rules confirmed for your campsite
Common Mistakes
- Carrying too many “what if” layers instead of refining your system.
- Hiking in insulation and soaking it with sweat.
- Ignoring wind protection while focusing only on rain gear.
- Skipping a sleep layer and sacrificing recovery.
- Blindly trusting marketing claims without verifying specs.
Frequently Asked Questions
What are the essential ultralight camping clothing layers for a 3-season trip?
At minimum: one moisture-managing base layer, one breathable mid-layer for movement, one insulated layer for camp, and a wind or rain shell. Fine-tune based on verified forecasts and your personal cold tolerance.
How do I choose between fleece and down in ultralight camping clothing layers?
If you expect damp conditions or sweat heavily while hiking, fleece is more forgiving. For drier climates and maximum warmth-to-weight in camp, down is hard to beat—just keep it dry.
What are the most practical Lightweight clothing tips for reducing pack weight?
Eliminate duplicates, choose layers that serve multiple roles, and upgrade heavy insulation first. Test your system on short trips before committing to longer backcountry routes.
Can I use the same base layer for hiking and sleeping?
You can—if it’s dry and clean enough at day’s end. In cooler conditions, many hikers prefer a dedicated dry layer to protect sleep quality.
How many clothing layers should I carry for changing mountain weather?
Think in functions, not numbers: moisture management, active warmth, static warmth, and weather protection. Cover those four roles and adjust weight within each.
Are waterproof shells necessary if the forecast looks clear?
In stable summer conditions at lower elevations, a windbreaker might suffice. In mountains or remote terrain, a true waterproof shell provides a critical safety buffer if forecasts shift.
Conclusion
Smart best lightweight hiking clothing layering approach is about balance, not extremes. Shaving ounces makes sense—until it compromises warmth, recovery, or storm protection. Build a simple system that covers movement, rest, and real weather. Then test it on short overnighters before committing to bigger objectives. Before your next trip, lay everything out and remove one unnecessary item. Fine-tune, don’t gamble. That’s how ultralight stays smart.