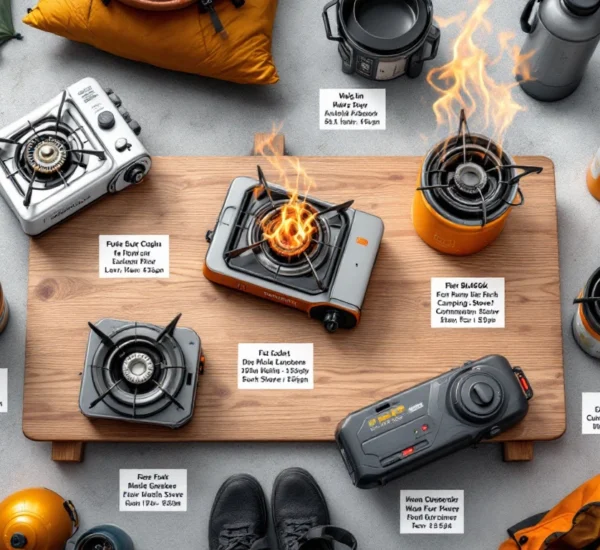
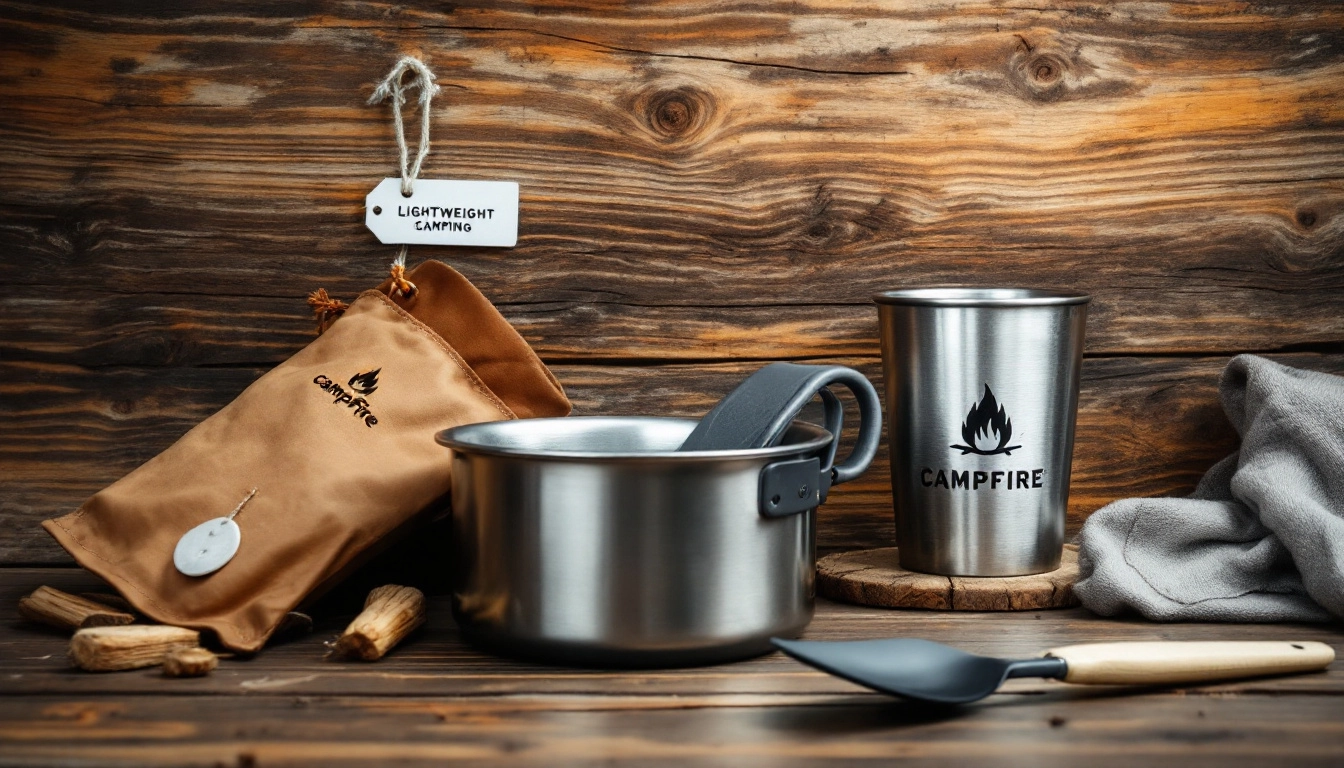
Your legs feel fine on the uphill—until your shoulders start complaining. You shift your pack, wondering why it feels so top-heavy, and then it hits you: your cook kit is heavier than it needs to be. Lightweight camping cookware is one of the simplest upgrades you can make to drop serious weight without sacrificing real food at camp. A few smart choices change how you pack, how you cook, and how much fuel you burn. In this guide, I’ll walk you through practical Lightweight cookware tips that actually work in the field—how to choose materials, match gear to your trip style, pack efficiently, and avoid the common mistakes that make your pack heavier than it should be. Pairing your pot with the right stove from these compact camping stove options for 2026 can make an even bigger difference in total pack weight.
Table of Contents
- Choose the Right Material for Lightweight Camping Cookware
- Match Your Cookware to Your Trip Style
- Master Smart Nesting and Packing Systems
- Prioritize Multi-Use Items to Save Weight
- Balance Weight vs Durability in Real Conditions
- Cook Efficiently to Reduce Fuel and Gear Bulk
Choose the Right Material for Lightweight Camping Cookware
When people shop for lightweight camping cookware, they often chase the lightest number on the tag. That’s a mistake. The right material depends on what you cook and how forgiving you want your setup to be.
Titanium vs Aluminum vs Stainless Steel
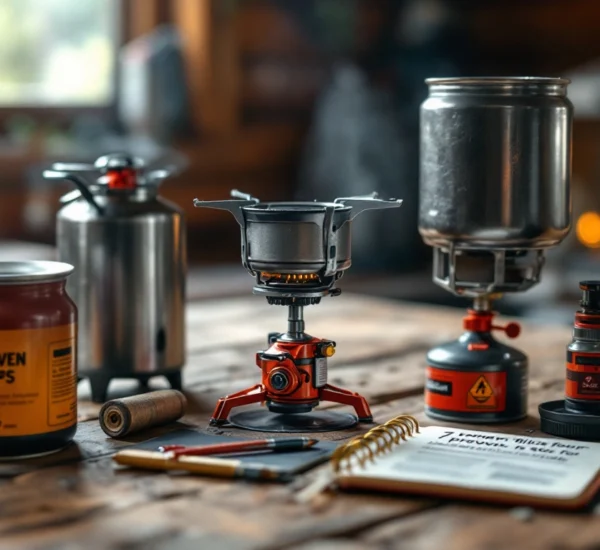
Titanium is the ultralight favorite. It’s incredibly light and strong for its weight. If most of your meals involve boiling water for dehydrated pouches or coffee, titanium makes sense—especially when paired with one of the best compact camping stove setups designed for fast boils. The trade-off? It creates hot spots. Try simmering rice or oatmeal without stirring and you’ll scorch the bottom fast.
Aluminum heats more evenly. It’s a solid middle ground—light but friendlier for simple one-pot meals. If you like real cooking at camp (pasta, sautéed veggies, eggs), aluminum is easier to manage.
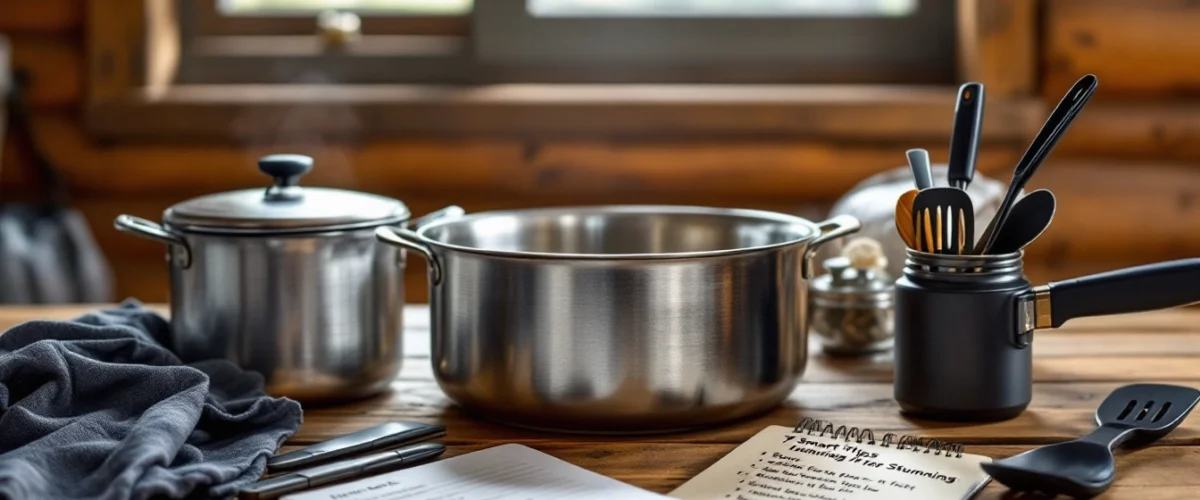
Stainless steel is tough and durable but heavier. It’s more common in car camping or rugged situations where gear takes a beating.
Quick decision rule: If 80% of your meals are just boiled water, prioritize weight. If you actually cook, prioritize heat control.
Non-Stick Coatings: Worth It or Extra Weight?
Non-stick coatings make cleanup easy—especially helpful on multi-day trips where water is limited. But coatings wear out. Metal utensils, abrasive scrubbers, or stacking pots without protection can scratch them quickly.
If you go this route, pack a small silicone or plastic utensil and a soft sponge. Before buying, check how durable the manufacturer claims the coating is and inspect for surface imperfections. One deep scratch on day one can shorten the life of your pot.
Match Your Cookware to Your Trip Style
One of the most overlooked Lightweight cookware tips is this: your cookware should reflect your trip, not someone else’s packing list.
Backpacking vs Car Camping
Backpacking: Every ounce counts. You want compact, nesting gear that disappears into your pack. Stability matters because you’re often cooking on uneven ground, so choosing a pot-and-burner combo from reliable compact stove options built for backpacking can improve both balance and efficiency.
Car camping: Comfort matters more than grams. A slightly heavier but wider, more stable pot can make cooking feel almost like home. If you’re cooking at a picnic table, you don’t need to obsess over ultralight specs.
Think about where you usually cook. On rocky alpine slabs? In established campgrounds with flat pads? That context should shape your decision.
Solo, Couple, or Group?
For solo trips, a single pot in the 750ml–1L range is usually plenty for boiling water and simple meals. For two people, 1.5L–2L often works well. Groups need more capacity—but don’t default to one oversized pot “just in case.”
A better approach: verify volume specs from the manufacturer and calculate realistic portions. If your group typically eats dehydrated meals, you may only need water-boiling capacity plus mugs.
Season & Location Considerations
Cold conditions mean more hot drinks and longer simmer times. Windy areas increase fuel use. In exposed environments, always test stove stability fully assembled before lighting it. Reviewing modern lightweight stove designs and features ahead of your trip can help you anticipate performance in tough weather.
Before relying on open flames or certain stove types, verify local fire regulations through official authorities like the National Park Service fire safety guidance or check regional restrictions.
Master Smart Nesting and Packing Systems
A well-designed nesting system saves space and protects your gear.
Buy Sets That Truly Nest
Don’t assume everything fits neatly. If you can, bring your stove and fuel canister to the store. Test whether they fit inside the pot with the lid secured. Add your lighter and a tiny sponge. If the lid barely closes, it’s not a clean system.
Use Soft Barriers to Prevent Rattle
A bandana or microfiber cloth works as padding and doubles as a towel or pot holder. Wrap it around your fuel canister before nesting it inside your pot. No clanking, and no wasted fabric.
Organize for Fast Access
On short lunch stops, you don’t want to unpack your entire bag to find your spoon. Keep your cook kit in a consistent place—top third of the pack or an exterior pocket if conditions are dry. A system saves time when weather turns.
Prioritize Multi-Use Items to Save Weight
If you remember only a few Lightweight cookware tips, make this one count: eliminate single-purpose items whenever possible.
Pot as Bowl, Lid as Plate
Choose a pot shape you can comfortably eat from. Rolled rims are easier on your lips. Lids can double as shallow plates for shared meals. Before your trip, fill it with hot water and test how it feels to hold.
Ditch Single-Use Gadgets
Egg rings, specialty strainers, bulky cutting boards—leave them. You can safely drain pasta using the lid if designed for straining. Just practice at home first and avoid burns.
Minimalist Utensil Strategy
A single long-handled spoon handles most backcountry meals. Long handles keep your knuckles clean when eating from deeper pouches. Pack based on how you actually eat on trail, not how you cook at home.
Balance Weight vs Durability in Real Conditions
Ultralight gear saves ounces, but thin walls can warp under high heat. Always follow manufacturer heating and care instructions.
Thin Walls vs Warping Risk
If you notice the bottom starting to bulge after high flame use, scale back the heat. Most backpacking meals don’t require full blast. Moderate flame increases pot life and reduces fuel use.
Handles and Stability
Foldable handles are compact but check their lock strength. With the pot full of water, gently lift and wiggle. If it flexes too much, imagine doing that over a lit stove.
Before lighting any stove or fire, confirm you’re on stable, level ground and compliant with safety recommendations from the USDA Forest Service campfire safety guidelines.
Cooking Surface Safety
Clear a stable cooking area and respect Leave No Trace practices outlined by Leave No Trace outdoor ethics. Spilled food or scorched ground causes more damage than people realize.
Cook Efficiently to Reduce Fuel and Gear Bulk
Efficient cooking lets you carry less fuel—and sometimes smaller cookware.
Always Use a Lid
A lid shortens boil time dramatically. It’s simple, but many campers forget. Less boil time means less fuel, which reduces total carried weight.
Pre-Plan Simple, Low-Fuel Meals
One-pot meals and dehydrated foods simplify your setup. If weather turns cold and windy, you’ll be grateful dinner takes ten minutes instead of thirty.
Wind Management
Use natural wind barriers like rocks or terrain features when safe and allowed. Verify your stove manufacturer’s guidance before using windscreens to avoid overheating fuel systems. Test your full setup with water at home before departure.
Checklist
- Choose material based on how you actually cook.
- Match pot size to realistic group needs.
- Ensure stove, fuel, and lighter nest cleanly inside.
- Include at least one multi-use item.
- Check handle stability with a full pot of water.
- Test boil and basic meal at home before first trip.
- Verify fire and stove regulations through official sources before departure.
Common Mistakes
- Buying the lightest option without considering cooking style.
- Overpacking duplicate kitchen items.
- Ignoring stove stability on uneven terrain.
- Skipping a home test run before a trip.
- Using harsh scrubbers on thin or coated pots.
- Failing to check local fire restrictions ahead of time.
Frequently Asked Questions
What is the best material for lightweight camping cookware?
It depends on your meals. Titanium is excellent for boiling water quickly and minimizing weight. Aluminum distributes heat better for simple cooking. Stainless steel is durable but heavier and better suited for car camping.
How do I choose lightweight camping cookware for a group of four?
Calculate realistic serving sizes first. Look for manufacturer-stated capacity and consider whether you’re boiling water only or cooking full meals. In many cases, two medium pots are more flexible than one oversized pot.
Are titanium pots worth it for beginners?
If you’re mostly boiling water, yes. If you’re new to camp cooking and want to experiment with real meals, aluminum can be easier to manage and more forgiving.
What are the most practical Lightweight cookware tips for reducing pack weight?
Focus on nesting efficiency, eliminate single-use tools, cook with a lid, and plan simple one-pot meals. Reducing fuel consumption often saves as much weight as switching pot materials.
Can lightweight camping cookware be used over an open fire?
Some pieces can, but always verify manufacturer guidance first and confirm local fire regulations with official park or forest services. Open flames can damage thin or coated cookware and may be restricted in many areas.
How do I clean lightweight cookware on multi-day trips without damaging it?
Use warm water, a soft sponge, and minimal soap if permitted. Avoid abrasive scrubbers. Wipe food residue promptly to prevent hard buildup. Pack out waste and follow Leave No Trace principles.
Is a cookware set better than mixing individual pieces?
Sets simplify nesting, but mixing pieces lets you tailor your setup. Choose whichever creates a compact system that matches your style and avoids redundancy.
Conclusion
The best lightweight camping cookware isn’t the lightest option on the shelf—it’s the kit that matches how you hike, cook, and camp. Smart material choices, efficient nesting, and a few practical Lightweight cookware tips can shave weight without sacrificing hot coffee at sunrise or a real meal after a long climb. Before your next trip, lay out your cook kit and remove one unnecessary item. Test what’s left. Small adjustments lead to lighter packs, faster setups, and better trailside meals.