You’re standing in a gear shop—or staring at a dozen browser tabs—trying to figure out how to pick a lightweight sleeping bag. One label says “20°F,” another boasts “850 fill power,” and a third promises ultralight performance under two pounds. They all look similar. They’re not. Many campers end up with a bag that’s light but too cold, or warm enough but bulky and frustrating to pack. This Lightweight sleeping bag guide walks you through what actually matters: temperature ratings, insulation type, shape, real-world pack space, and how to match your bag to your trip. By the end, you’ll know exactly what to look for—and what to ignore.
Table of Contents
- Start With Temperature Ratings (Not Weight)
- Choose the Right Insulation Type
- Understand Weight vs Warmth Trade-offs
- Pick the Right Shape and Fit
- Check Features That Actually Matter
- Test It Against Your Real Trip Conditions
- Match the Bag to Your Budget and Long-Term Use
Start With Temperature Ratings (Not Weight)
If you remember one thing from this guide, make it this: warm enough first, light enough second.
Understand Comfort vs Limit Ratings
Most reputable brands test bags under standardized methods such as the EN/ISO rating system. You’ll usually see two numbers: a comfort rating and a lower limit rating. The comfort rating is where an average sleeper should stay comfortably warm. The lower limit is closer to “you’ll survive, but you might not love it.”
If you know you sleep cold, treat the lower limit as off-limits. Choose a bag with a comfort rating near the lowest temperature you realistically expect. For technical background on the ISO standard, see the overview from the International Organization for Standardization.
Factor in Season and Location
A typical 3-season sleeping bag works for spring, summer, and fall—but that means different things at sea level versus in the mountains. Check your campsite elevation. Mountain nights can drop fast, even after a warm afternoon.
Look up the forecast at the NOAA National Weather Service and compare it with historical lows. A simple field rule: take the lowest expected nighttime temperature and add a small personal buffer, especially if you’re unsure.
Common Real-Life Mistake: Buying for Daytime Weather
It’s 75°F during your afternoon hike, so you grab a “summer” bag. At 3 a.m., it’s 42°F—and you’re wide awake. Always plan for nighttime conditions, not the trailhead temperature.
Choose the Right Insulation Type
When deciding how to pick a lightweight sleeping bag, insulation is your next big call: down or synthetic.
Down: Best Warmth-to-Weight Ratio
Down offers excellent compressibility and warmth for its weight. That’s why most ultralight backpacking sleeping bags use it—especially when paired with a compact shelter like a one-person ultralight tent for solo backpacking. If you’re counting ounces on multi-day hikes, down is hard to beat.
The trade-offs? Higher cost and reduced performance when soaked. Modern water-resistant down helps, but moisture management still matters. In dry, alpine climates with good shelter, down shines.
Synthetic: More Forgiving in Wet Conditions
Synthetic insulation keeps more of its insulating ability when damp and usually costs less. It’s bulkier for the same temperature rating, but it’s more forgiving if your tent picks up condensation during humid nights or you’re camping in a rainy region.
If you’re new to backpacking and still refining your shelter setup, synthetic can reduce risk. It’s heavier—but it’s resilient.
Ethical & Care Considerations
If choosing down, look for brands that disclose responsible sourcing standards. Whatever the fill, never store your bag compressed long term. Hang it or keep it loosely stored so it maintains loft. Crushed insulation loses warmth over time.
Understand Weight vs Warmth Trade-offs
Every ounce removed usually comes at a cost—less insulation, thinner fabric, or a higher price tag.
Define “Lightweight” for Your Trip
For ultralight hikers with small packs, shaving half a pound matters. For car campers, it doesn’t. Be honest about your style. If you’re carrying everything on your back for 10 miles, you’ll feel weight. If you’re parking 30 feet from the tent pad, you won’t.
Packed Size Matters as Much as Weight
Packed volume can make or break your loadout. A bag might be light yet awkwardly bulky. If you’re planning to carry it inside a compact one-person ultralight tent setup, bring your backpack and test how it fits. If buying online, compare packed dimensions carefully.
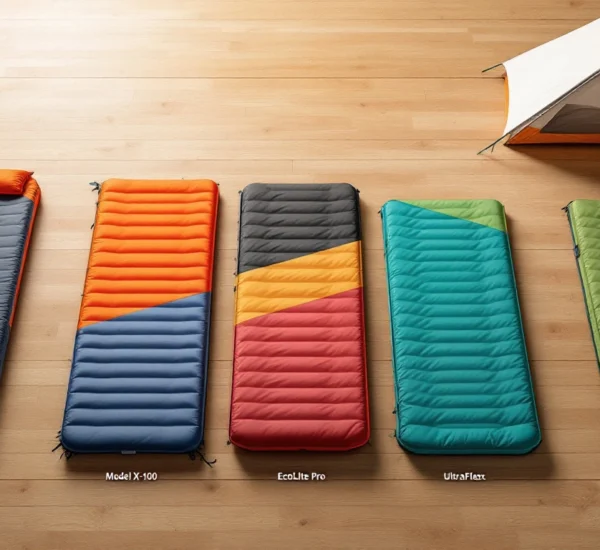
Use a Weight-to-Temperature Comparison
Compare two bags with the same comfort rating. If one is significantly lighter, check why. Higher-fill-power down? Thinner shell fabric? Make sure the savings align with your use, not just marketing language. Avoid chasing the absolute lightest model without confirming it truly fits your conditions.
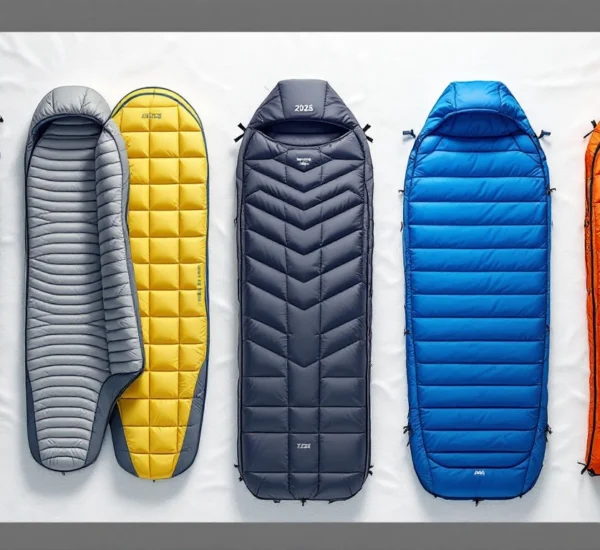
Pick the Right Shape and Fit
Shape affects both warmth and sleep quality.
Mummy vs Rectangular vs Hybrid
Mummy bags taper at the legs and hug the body. That reduced air space makes them more thermally efficient and lighter. Rectangular bags offer room to sprawl but weigh more and trap more unused air.
If you’re a restless sleeper, try a mummy in-store before committing. Feeling trapped at 2 a.m. defeats the purpose of good insulation.
Check Length and Shoulder/Girth Measurements
Don’t automatically size up. Extra interior space means more air to heat. Choose a length that matches your height, and check shoulder and hip measurements if you’re broad or side-sleeping.
If testing in-store, lie down and roll to your side. Pull the hood closed. Do your shoulders compress the insulation? That’s a clue it may be too narrow.
Women’s and Cold-Sleeper Designs
Many women’s-specific or cold-sleeper models add insulation in key zones. Check manufacturer specs carefully rather than assuming all models are equal. Small differences in fill placement can have a noticeable effect at night.
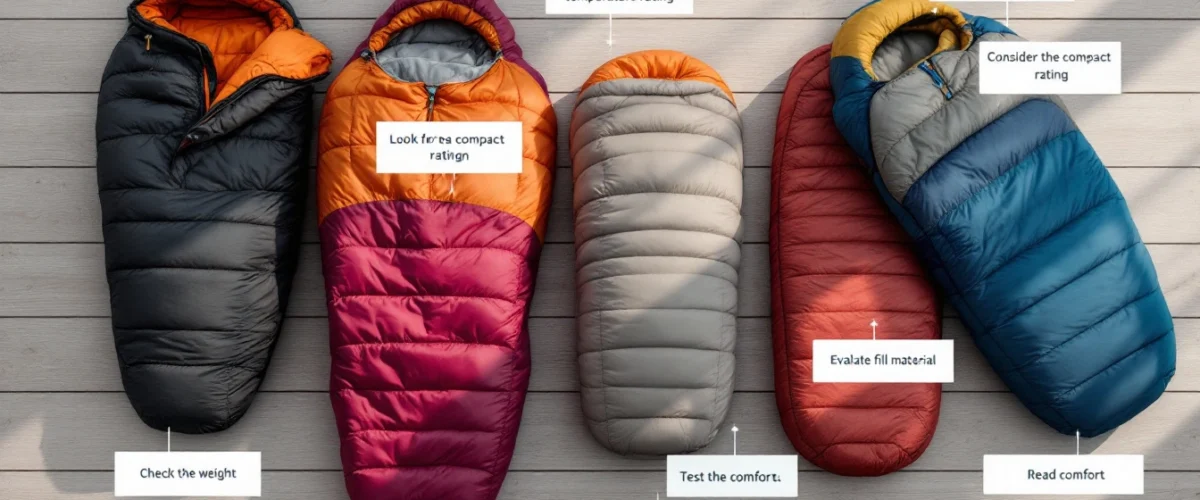
Check Features That Actually Matter
Some features are marketing fluff. Others are worth every gram.
Hood, Draft Collar, and Zipper Quality
A well-shaped hood is critical for minimizing heat loss. Draft collars seal warmth around your neck on colder nights. Run the zipper up and down in the store—does it snag easily? Cheap zippers become frustrating fast in freezing temperatures.
Two-Way Zippers for Venting
Two-way zippers let you vent from the foot box during warmer conditions. That flexibility extends usability across seasons. On mild shoulder-season trips, partial venting can prevent clamminess without fully opening the bag.
Shell Fabric and Durability
Ultralight shell materials save weight but can feel fragile. If you camp on rough platforms or cowboy camp under the stars with only a minimalist solo ultralight tent, consider slightly heavier fabrics. Long-term durability may outweigh a minor weight savings.
Test It Against Your Real Trip Conditions
A sleeping bag is part of a system.
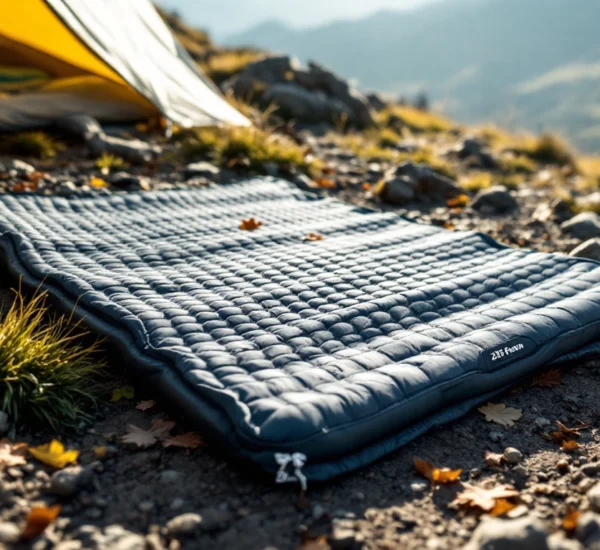
Pair With the Right Sleeping Pad
Insulation underneath you compresses and loses effectiveness. Your sleeping pad provides ground insulation. Check pad R-values when planning cooler trips. A warm bag on a thin pad still equals a cold night.
Think Through Moisture and Storage
Condensation builds inside tents, especially in humid areas. Ventilate when possible. After each trip, air your bag out completely before storing it loosely at home.
Borrow or Rent Before Investing (If Unsure)
If you’re unsure about temperature ratings, test a similar bag on a short overnight. Many parks provide planning guidance through official resources such as the National Park Service trip planning page. Match your trial run to expected conditions.
Match the Bag to Your Budget and Long-Term Use
A premium bag isn’t always necessary. Frequency matters.
Entry-Level vs Premium Options
Higher-end bags often use higher-fill-power down or lighter shell materials. That means better packability and lower weight, but at a price. Occasional campers may not need top-tier specs.
Cost Per Night Mindset
If you camp once a year, durability and moderate warmth may be enough. If you’re out monthly, investing in lighter, higher-performing gear makes more sense. Spread the cost across your expected nights outdoors.
When to Upgrade (Not Just Replace)
If your current bag has lost loft, developed cold spots, or no longer matches your trip style, that’s a cue to upgrade. Don’t just replace like-for-like—reassess your temperature and weight needs first.
Checklist
- Confirm lowest realistic nighttime temperatures for your destination.
- Decide down vs synthetic based on climate and experience level.
- Compare at least two bags with the same temperature rating side by side.
- Test length and shoulder fit—avoid excess interior space.
- Check packed size inside your actual backpack.
- Pair with an appropriate sleeping pad.
- Review the return policy before purchasing.
Common Mistakes
- Choosing based on weight alone.
- Ignoring the comfort rating and relying on the lower limit.
- Buying an oversized bag and losing thermal efficiency.
- Storing the bag compressed year-round.
- Forgetting that pad insulation affects overall warmth.
Frequently Asked Questions
How to pick a lightweight sleeping bag without getting too cold at night?
Start with the comfort temperature rating, not the advertised weight. Match that rating to the coldest realistic nighttime temperature you expect, then factor in your sleep style. Cold sleepers should build in a small buffer rather than pushing the lower limit rating.
What temperature rating should I look for in a Lightweight sleeping bag guide for 3-season camping?
For most 3-season trips, choose a bag whose comfort rating aligns with cool spring and fall nights in your region. Check elevation and forecast data, not just average summer temperatures. A little margin now prevents restless nights later.
Is down or synthetic better for lightweight backpacking?
Down usually wins for weight and packability, especially in dry climates. Synthetic performs better in persistently wet conditions and can be more forgiving for beginners.
Does a lighter sleeping bag mean less warmth?
Not necessarily. High-quality down can deliver excellent warmth at lower weight. What matters most is the tested temperature rating and insulation quality—not just total ounces.
How do I know if a mummy bag will feel too tight?
Check girth measurements and try lying inside before you buy. Roll onto your side and bend your knees. If the insulation compresses at your shoulders or hips, try a roomier model.
What’s the ideal weight for a lightweight sleeping bag on multi-day hikes?
There’s no single answer. Your ideal weight balances the required temperature rating, trip length, and pack size. As a rule, prioritize adequate warmth first, then reduce weight where possible without sacrificing comfort.
Conclusion
The best bag isn’t the lightest or the most expensive—it’s the one that keeps you warm, fits your body, and matches your trips. Start with temperature ratings, narrow your choice by insulation type, then fine-tune fit and features. When you’re deciding how to pick a lightweight sleeping bag, think in systems: bag, pad, forecast, and shelter working together. Review your next trip’s expected lows, measure your pack space, and compare two or three models side by side. Use this Lightweight sleeping bag guide as your decision checklist, and you’ll sleep better—and hike lighter—on your next adventure.