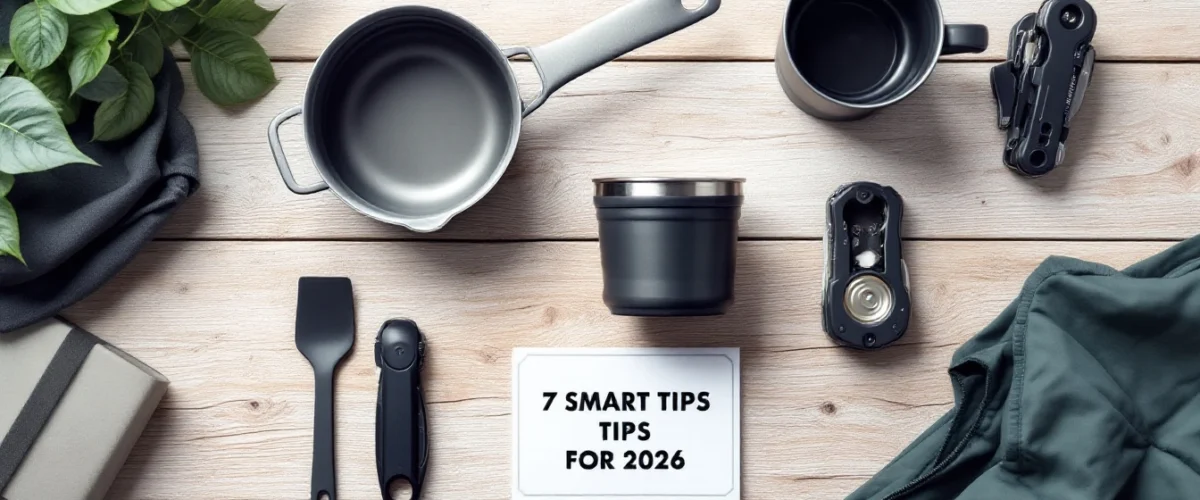
You’ve hiked ten miles, the light is fading, and all you want is a hot meal. Then you start digging. Your “compact” pot doesn’t actually fit your stove and fuel together. The lid keeps slipping off. The handles rattle every time you move. Suddenly, your dinner feels like a chore. That’s where smart compact cookware for backpacking makes a real difference. It’s not glamorous gear, but it can dramatically improve trail life. In this guide, I’ll walk you through field-tested Lightweight cookware tips for smarter ultralight systems and seven practical rules to help you choose, pack, and refine a system that works in real conditions—not just on a product page.
Table of Contents
- Define Your Cooking Style First
- Choose the Right Material for Compact Cookware for Backpacking
- Prioritize Smart Nesting and Packability
- Match Cookware to Your Stove and Fuel
- Balance Weight, Capacity, and Real-World Use
- Think About Cleaning, Durability, and Longevity
- Field-Test Before a Major Trip
Define Your Cooking Style First
Before you compare grams or coatings, be honest about how you actually cook outside.
Are You Boil-Only or Actually Cooking?
If most of your dinners are freeze-dried pouches, you’re boil-only. You just need reliable hot water. In that case, a simple mug-style titanium backpacking pot may be enough.
But if you sauté trout, simmer rice, or cook for a partner, thin metal and tiny volumes can turn dinner into a burnt mess. If you’ve ever scorched oatmeal because the pot heated unevenly, you’re not truly boil-only. Choose cookware that matches your real habits.
Trip Length, Season, and Group Size
An overnight solo hike is different from a week-long route. Cold weather usually means extra hot drinks, soups, and calorie-dense meals. You may justify a slightly larger pot in shoulder seasons.
A common mistake: bringing a 1-liter pot for two hungry adults. It works on paper. In reality, food boils over or requires batches, wasting fuel and time.
Set a Weight Budget (in Context)
Think in systems. If your shelter and sleep setup are dialed in, shaving 80 grams off cookware might not matter. On the other hand, swapping a bulky stainless set for a minimalist ultralight camp cooking gear setup can free space and weight instantly.
Set a cookware weight target based on your total base weight, not based on social media trends.
Choose the Right Material for Compact Cookware for Backpacking
Material choice changes how your pot performs in the real world. When selecting compact cookware for backpacking, consider how you cook—not just the number on the scale.
Titanium vs. Anodized Aluminum vs. Stainless Steel
Titanium: Extremely light and strong. Great for boil-only hikers. It heats fast but doesn’t distribute heat as evenly, so simmering requires attention.
Anodized aluminum: Slightly heavier, but better heat distribution. If you cook actual meals, this often feels more forgiving.
Stainless steel: Durable and tough, but typically heavier. It can make sense for rugged use or hybrid trips where weight isn’t the top concern.
Ask yourself what you’ve burned before. If the answer is “everything,” better heat control may be worth a few extra grams.
Non-Stick Coatings: Worth It or Not?
Non-stick surfaces simplify cleanup, especially for eggs or sticky grains. The trade-off is long-term wear. Grit, metal utensils, and stacking gear inside the pot can shorten its lifespan.
Follow manufacturer instructions for care and use. Avoid abrasive scrubbers. A small silicone or wooden utensil goes a long way in preserving the coating.
Safety & Material Guidance
Always check the manufacturer’s care and food-safety information before using new cookware. Stick to approved heating methods and cleaning practices. Avoid improvising with materials or exposing coated cookware to flames beyond design limits.
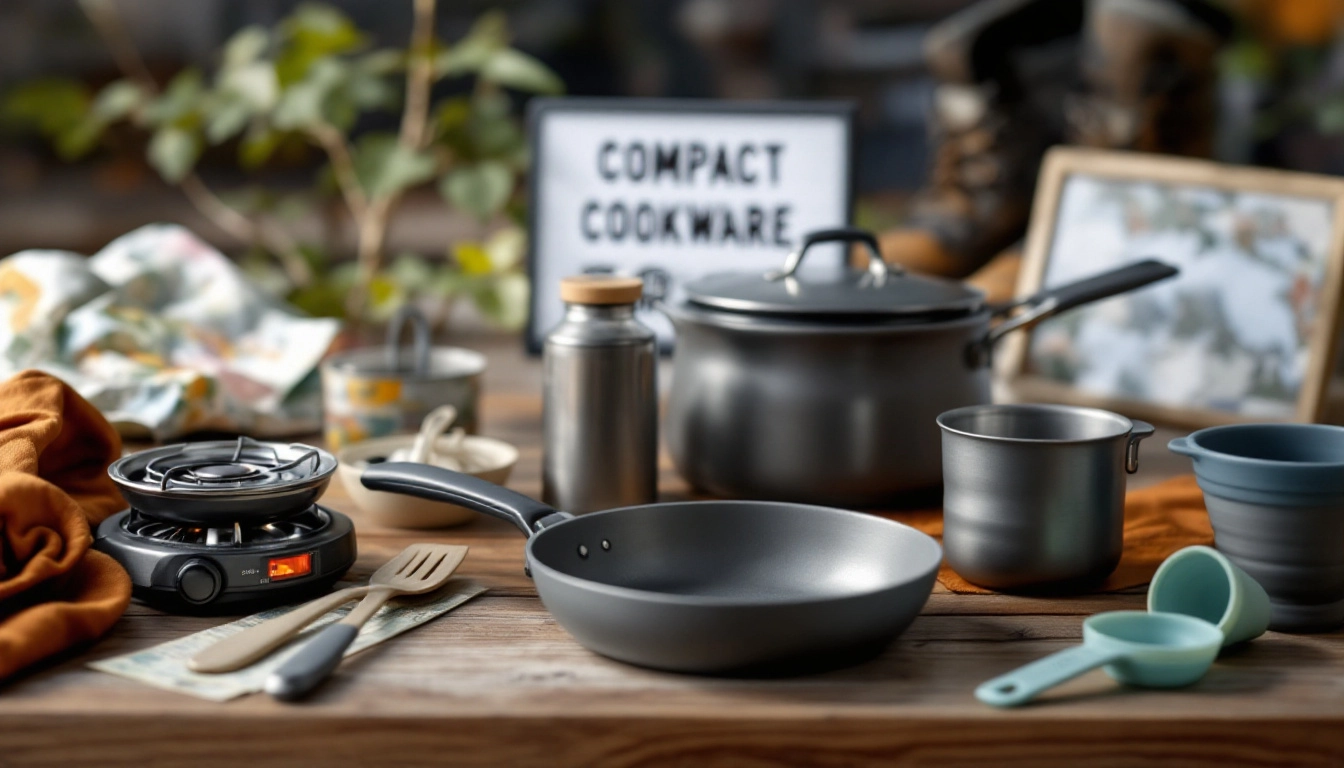
Prioritize Smart Nesting and Packability
A good backpacking cook set should feel like one unit, not loose parts floating in your pack.
Full Nesting Systems
Ideally, your stove, fuel canister, lighter, and a small cloth fit inside your pot. Don’t trust spec sheets alone. Physically test your exact stove model with your fuel size.
If the lid doesn’t sit flat once everything is packed inside, it’s not truly compact.
Handles, Lids, and Collapsible Components
Folding handles reduce bulk, but check for stability. Grab the pot with a full liter of water inside. If it flexes or twists, that’s a red flag.
Some lids double as small plates. That’s useful—if you’ll actually use it. Otherwise, it’s unnecessary complexity.
If handles rattle, wrap the system with a bandana or small strap. That same cloth can serve as a pot holder.
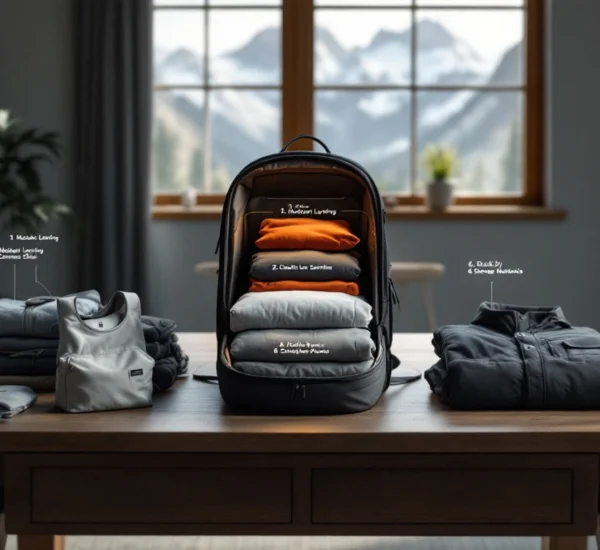
Pack Placement Strategy
Top-loading packs make stove access simpler during lunch breaks. In frameless ultralight setups, placing the pot in the center can add structure.
Protect non-stick interiors by storing soft items inside. A food pouch or thin cloth prevents scratching, especially when using compact ultralight cookware systems designed for tight nesting.
Match Cookware to Your Stove and Fuel
The best pot in the world won’t help if it wobbles dangerously on your stove.
Canister, Alcohol, or Solid Fuel Compatibility
Wider pots typically distribute heat better but require stable pot supports. Narrow mugs are lighter but can feel top-heavy.
Cook once in breezy conditions before a big trip. Even light wind exposes stability issues fast.
Wind Screens and Heat Efficiency
Proper wind management improves fuel efficiency and boil times. However, always follow your stove manufacturer’s safety instructions regarding windscreen use.
Before traveling, review current regulations and guidance through official land managers such as the U.S. Forest Service recreation and safety page and check for active fire restrictions via the National Interagency Fire Center fire restrictions updates.
Regulations and Fire Restrictions
Stove rules vary by area and season. Always confirm what’s allowed before you go. The National Park Service backcountry camping guidance provides location-specific rules and safety considerations.
Balance Weight, Capacity, and Real-World Use
This is where Lightweight cookware tips matter most: balance efficiency with function.
Right-Sizing Your Pot
Many solo hikers use pots in the 500–750 ml range. If your water regularly boils over, you’ve gone too small. If you constantly carry unused capacity, you’ve gone too big.
Test by cooking your biggest typical meal at home. Fill to realistic levels, not theoretical max capacity.
Multi-Use Thinking
A mug-pot combo can replace separate drinking and cooking containers. Some lids work as shallow bowls. Minimalist backpacking gear shines when every item has two purposes.
Just avoid sacrificing enjoyment. If you love real camp meals, a slightly heavier pot may increase overall trip satisfaction.
Cost vs. Longevity
Budget cook sets can work well for occasional trips. Premium modular systems often offer tighter nesting and refined details. Instead of chasing trends, think in seasons of use. Will this last five years of steady hiking? Exploring updated lightweight camp cooking gear trends for 2026 can help you compare durability and design improvements before buying.
Think About Cleaning, Durability, and Longevity
Cleanup is often overlooked until you’re crouched by a stream at dusk.
Backcountry Cleaning Best Practices
Follow the Leave No Trace Seven Principles for dishwashing. Strain and pack out food scraps. Scatter wastewater broadly away from natural water sources according to local guidance.
Preventing Damage on Trail
Don’t stack metal utensils directly against coated surfaces. Avoid grinding gritty sand into the pot while cleaning. Keep soot contained by storing the pot inside a small sack if needed.
When to Replace Your Cookware
Inspect your gear before each season. Look for warped bases, loose handles, deep gouges, or flaking coatings. A preseason check can prevent a frustrating or unsafe cooking experience on your first 2026 trip.
Field-Test Before a Major Trip
Never let a thru-hike be the first time your system meets real use.
Short Backyard or Local Park Test
Boil the amount of water you typically use. Time it. Set up on uneven ground. Light wind quickly reveals design flaws.
Measure Real Fuel Consumption
Track how many boils you get from a canister under realistic conditions. Cold mornings and wind change your expectations fast.
Refine Your System
After testing, remove what you didn’t use. If something annoyed you twice, it will annoy you ten times on trail. Adjust before departure.
Checklist
- Define cooking style (boil-only or real cooking).
- Confirm pot size matches group and hunger level.
- Ensure stove and fuel nest inside chosen pot.
- Verify compatibility with your stove type.
- Cross-check local stove regulations.
- Test setup in wind and uneven ground.
- Practice Leave No Trace dishwashing.
Common Mistakes
- Buying the lightest titanium backpacking pot without considering heat control.
- Ignoring nesting dimensions and discovering fuel doesn’t fit.
- Oversizing cookware “just in case” and carrying unnecessary weight.
- Using abrasive scrubbers on non-stick surfaces.
- Skipping a field test before a long-distance hike.
Frequently Asked Questions
What is the best compact cookware for backpacking if I only boil water?
If you’re strictly boil-only, a simple titanium mug-style pot with a tight-fitting lid is often enough. Prioritize low weight, stable handles, and the ability to nest your stove and fuel inside.
Are titanium pots better than aluminum for compact cookware for backpacking?
It depends on your cooking style. Titanium is lighter and durable, ideal for boiling water. Aluminum typically offers more even heating, which helps if you simmer or cook real meals. Choose based on performance, not just grams.
What are the most practical Lightweight cookware tips for reducing pack weight without sacrificing functionality?
Pick the smallest capacity that fits your real meals, eliminate duplicate items (like separate mug and pot), and choose nesting camping cookware that consolidates stove and fuel. Field-test to confirm you’re not sacrificing stability or efficiency.
How big should my backpacking pot be for two people?
For two adults, a pot around 1 liter or more is commonly used, depending on appetite and meal type. Test your largest shared meal at home to confirm it cooks comfortably without boiling over.
Is non-stick coating safe for backpacking cookware?
Use non-stick cookware according to the manufacturer’s instructions. Avoid overheating and abrasive cleaning. Check product-specific safety and care guidance before use.
Can I use the same compact cookware for backpacking in winter conditions?
Often yes, but winter increases fuel demand and stability needs. Larger volumes for melting snow and wind management become more important. Test your system in cold conditions before committing to a winter trip.
How do I clean cookware responsibly in the backcountry?
Remove food scraps, pack them out, and follow Leave No Trace recommendations. Use minimal soap where permitted and dispose of wastewater properly away from natural water sources.
Conclusion
Great compact cookware for backpacking isn’t about chasing the lightest number on a spec sheet. It’s about building a system that nests cleanly, cooks reliably in wind, respects regulations, and fits your real trail habits. Use these seven smart tips to evaluate your setup tonight: unpack it, assemble it, boil water, repack it. Make small adjustments now. When your next 2026 trip arrives and dinner comes together quickly after a long day, you’ll be glad you took the time to dial in your compact cookware for backpacking.