Dawn at 11,000 feet. Your fingers are stiff, the wind is pushing down from the pass, and your stove keeps sputtering instead of roaring. In moments like that, ultralight backpacking stoves stop being a gear spreadsheet decision and start being the difference between hot coffee and a long, cold morning. In this Lightweight stove guide, you’ll learn 7 proven tips to choose and use ultralight backpacking stoves wisely in 2026—based on real backcountry constraints like wind, altitude, fuel availability, and trip length. We’ll look past marketing boil times and focus on what actually works when you’re tired, hungry, and miles from the trailhead. If you want a deeper comparison of current models, see our best lightweight camping stoves 2026 stunning stove guide.
Table of Contents
- Tip 1 – Match Stove Type to Your Trip Style
- Tip 2 – Lightweight Stove Guide to Fuel Types and Real‑World Trade-Offs
- Tip 3 – Prioritize Efficiency Over Claimed Boil Time
- Tip 4 – Plan for Wind, Cold, and Altitude
- Tip 5 – Dial In Your Cook System Weight
- Tip 6 – Follow Safety Rules and Fire Restrictions
- Tip 7 – Test Before You Commit
Tip 1: Match Stove Type to Your Trip Style
The best stove on paper can be the wrong stove for your trip. Before comparing specs, ask yourself one question: Am I just boiling water, or actually cooking?
Canister vs. Alcohol vs. Liquid Fuel vs. Solid Fuel
Canister stoves are the most common ultralight backpacking stoves for good reason. They’re fast, simple to light, and easy to control. Turn the valve, spark, and you’re cooking.
Alcohol stoves are beautifully minimal. No moving parts. But they’re slower, more sensitive to wind, and flame control is limited.
Liquid fuel stoves tend to weigh more and require priming, but they shine in cold weather and on extended trips.
Solid fuel tabs are compact and reliable in emergencies, though not ideal for full meal prep.
Quick rule: weekend solo trips with simple boil-only meals usually favor small canister or alcohol setups. A 7‑day shoulder-season trip with real cooking pushes you toward a more stable, adjustable system—something often highlighted in the top-rated lightweight stove systems for backpacking.
Solo vs. Group Considerations
A tiny burner under a wide 2-liter pot is a recipe for tippy dinners. If you’re cooking for two to four people, stability matters more than shaving half an ounce. Wider pot supports and better flame spread reduce frustration and wasted fuel.
Minimalist vs. Comfort-Oriented Backpackers
If your idea of dinner is freezer-bag meals and tea, minimal works. If you simmer rice or sauté trout, look for better flame control. Not all ultralight backpacking stoves handle low simmer equally well—compare real-world simmer performance when researching the best ultralight stove options for 2026.
Tip 2: Lightweight Stove Guide to Fuel Types and Real‑World Trade-Offs
Fuel choice affects everything: weight, cost, cold-weather reliability, and even whether you can start your trip as planned.
Fuel Availability and Travel Constraints
You cannot bring most stove fuels on commercial flights. Always check current rules before flying. The TSA outlines restrictions for camping stoves and fuel here: TSA “What Can I Bring?” guidance for camping stoves and fuel. In Canada, review Transport Canada dangerous goods regulations.
If you’re landing near a small trail town, confirm fuel availability ahead of time. A remote outfitter may carry canisters but not alcohol fuel—or vice versa.
Cold Weather Performance Differences
Upright canister performance drops as temperatures fall. On frosty mornings, pressure decreases and boil times suffer. Some backpackers sleep with their canister in their bag to keep it warmer before breakfast. Alcohol stoves also struggle in wind and cold due to lower energy density.
If consistent freezing temps are expected, consider systems designed specifically for cold use. Always review manufacturer guidance for safe operation.
Cost Per Trip, Not Just Stove Price
That budget stove may require more fuel to do the same work. Over multiple trips, efficiency can offset higher initial cost. Estimate how many boils or cooked meals you’ll prepare per day, then calculate fuel needs realistically—not based on ideal lab boil claims.
Tip 3: Prioritize Efficiency Over Claimed Boil Time
Fast boil times sell stoves. Efficiency keeps you fed.
Efficiency vs. Speed
Most manufacturers test boil times in calm, controlled conditions. On an exposed ridge, wind steals heat fast. Even a light breeze can turn a “2‑minute boil” into five or more. When comparing models, consider total fuel consumed per liter boiled, not just speed—especially when reviewing detailed specs in a comprehensive lightweight camping stove comparison.
Integrated Systems vs. Pocket Burners
Integrated stove systems pair a burner with a heat-exchanger pot. They’re slightly heavier up front but often use less fuel over time. On short trips, that may not matter. On 5+ day treks, better efficiency can mean carrying less fuel weight overall.
Pocket burners are compact and flexible with different pots, but they rely more on your setup skill for wind protection and fuel savings.
Pot Size and Heat Transfer
Match pot diameter to burner size. A wide pot on a tiny flame wastes heat up the sides. Use a tight-fitting lid. Cook with measured water, not guesswork. Small habits stretch fuel farther than you think.
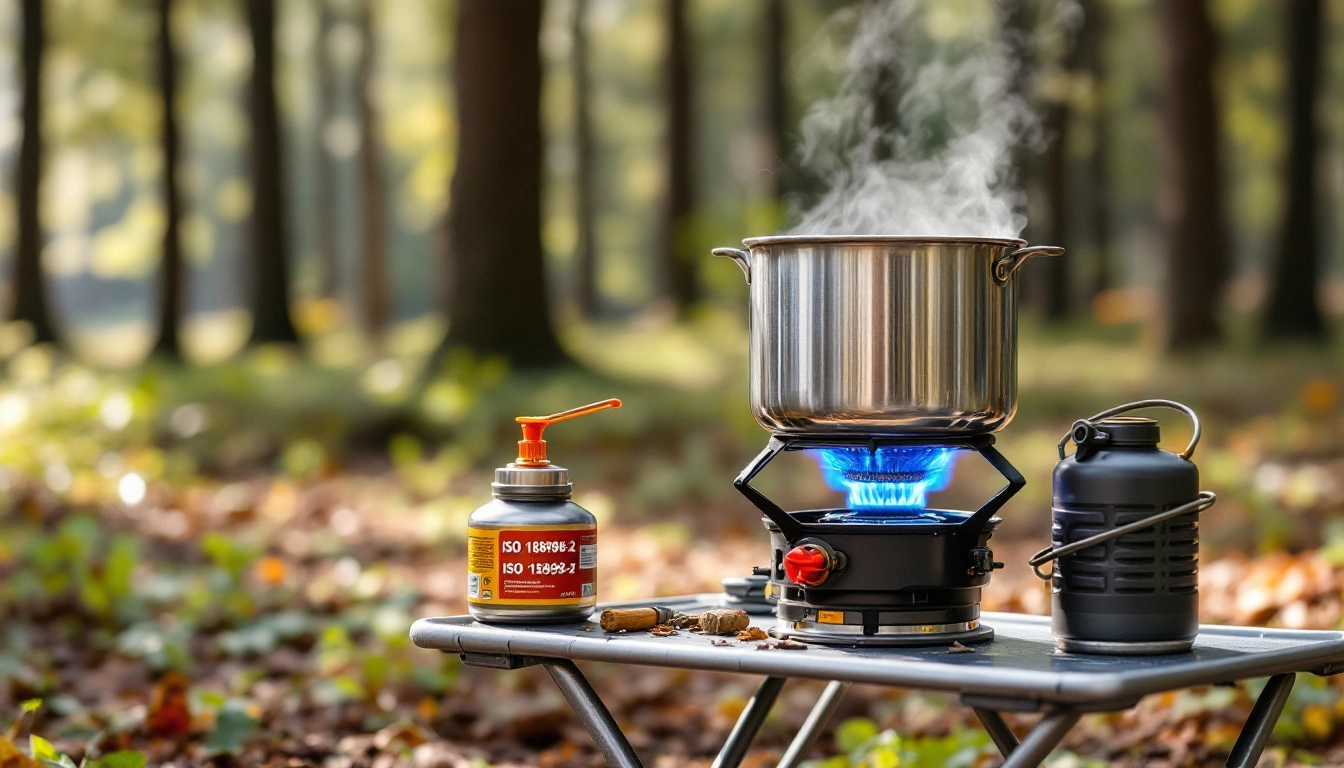
Tip 4: Plan for Wind, Cold, and Altitude
Conditions change how ultralight backpacking stoves behave.
Wind Protection Done Safely
Use natural windbreaks—rocks, logs, terrain dips—without fully enclosing your stove. Fully wrapping a windscreen around an upright canister stove can trap heat and create unsafe pressure buildup. Follow manufacturer guidance carefully.
Altitude Effects
Higher elevations mean lower air pressure. Water may boil at lower temperatures, which can slightly reduce boil time—but cooking food thoroughly may take longer. Plan for extra simmer time with items like rice or pasta.
Shoulder-Season Reality Check
Cold mornings affect more than fuel. Igniters can struggle when damp. Keep a backup ignition method. Practice lighting your stove while wearing gloves. If it feels clumsy in your backyard, it’ll feel worse at 12,000 feet.
Tip 5: Dial In Your Cook System Weight
Ounces don’t live in isolation. Think in terms of total system weight: stove, pot, lid, wind protection, and starting fuel.
“Total System Weight” Mindset
For a quick overnight, a tiny burner and small fuel canister may win. For longer trips, a slightly heavier but more efficient setup can reduce total carry weight by lowering fuel needs.
Fuel Planning Approach
Estimate:
- Meals per day needing heat.
- Water volume per boil.
- Expected trip conditions (wind, cold).
Do a test run at home. Measure how much fuel you use to cook a typical dinner and breakfast. Multiply by days on trail, then add a safety margin. Adjust based on your personal cooking style.
When Heavier Is Actually Lighter
On longer routes, integrated systems or more efficient ultralight backpacking stoves can offset their extra ounce or two by reducing fuel carried over time. Five days is often the tipping point—but test your own setup to be sure.
Tip 6: Follow Safety Rules and Fire Restrictions
Regulations vary widely by location and season. Always verify before you go.
National and Forest Regulations
Review current rules through official sources like the National Park Service fire regulations page and the USDA Forest Service campfire and stove guidelines. During certain fire bans, some stoves are permitted while others are restricted.
Carbon Monoxide & Tent Safety
Never operate a stove inside a tent or enclosed shelter. Carbon monoxide is odorless and deadly. Even vestibule cooking requires extreme caution and ventilation awareness. When in doubt, cook outside.
Fire Ban Misconceptions
Don’t assume your stove is always allowed because it has a valve. Some regions restrict all open-flame devices during severe conditions. Check just before departure—rules can change quickly.
Tip 7: Test Before You Commit
New gear deserves a shakedown.
Backyard or Local Trail Test
Cook a real meal. Time your process from unpack to clean-up. Notice how stable your pot feels. Create a safe breeze exposure and see how the flame behaves.
Practice Packing and Setup
Can you assemble everything smoothly? Does your fuel fit inside your pot? Small packing inefficiencies add friction over miles.
Refine Based on Friction Points
If ignition fails easily, add a reliable backup spark source. If your stove feels unstable, reconsider pot size. Dial it in before you’re deep in the wilderness.
Checklist
- Confirm trip length and cooking style.
- Choose fuel based on climate and resupply reality.
- Weigh the full system, not just the stove.
- Verify local fire restrictions before departure.
- Test your stove in similar conditions.
- Pack a safe backup ignition method.
Common Mistakes
- Buying the lightest model without considering wind performance.
- Trusting published boil times as real-world results.
- Ignoring fuel availability in remote regions.
- Cooking in enclosed spaces without ventilation.
- Forgetting to factor group size into pot stability and fuel planning.
Frequently Asked Questions
Are ultralight backpacking stoves reliable in cold weather?
Some are, some aren’t. Upright canister models often lose pressure in freezing temperatures. Systems designed for cold-weather use or liquid fuel options tend to perform better. Always review manufacturer recommendations and test before committing to winter conditions.
What is the best fuel type for ultralight backpacking stoves on week‑long trips?
It depends on climate and cooking style. For boil-only meals in moderate weather, canisters are common and convenient. In colder environments, alternative fuel systems may be more consistent. Estimate total fuel use rather than choosing by weight alone.
How do I choose the right model in a Lightweight stove guide comparison?
List your trip conditions first: temperature range, elevation, group size, and meal complexity. Then compare stability, simmer control, efficiency, and fuel availability—not just raw ounces. The right choice fits your routine, not a marketing chart.
Can I use ultralight backpacking stoves during fire bans?
Sometimes. Some regions allow certain controlled stoves while restricting others. Always check official park or forest websites immediately before your trip to confirm what’s permitted.
How much fuel should I carry for a 3–5 day trek?
Run a field test at home with your actual meals. Measure fuel used per day, multiply by trip length, and add a buffer for wind or cold. Personal testing gives far better estimates than generic averages.
Are integrated systems worth the extra weight for long-distance hiking?
On longer hikes, improved efficiency can reduce total fuel weight carried. For short overnights, the advantage may be minimal. Test both approaches if possible and compare total pack weight, not stove weight alone.
Conclusion
The best ultralight backpacking stoves aren’t defined by the smallest number on a scale. They’re defined by how consistently they give you hot food and drinks in real conditions—wind, cold, altitude, and all. Use this Lightweight stove guide as a practical checklist, not a shortcut. Evaluate your upcoming trip honestly, test your setup before heading out, and adjust based on real experience. Do that, and your ultralight backpacking stoves choice will support your miles instead of complicating them.