You don’t really think about how to choose a lightweight tent until you’re halfway up a long trail with 35 pounds on your back. Or when wind-driven rain pushes through your “ultralight” shelter at 2 a.m. Choosing the right tent isn’t about chasing the lowest number on a spec sheet—it’s about matching weight, weather protection, and livability to the trips you actually take. In this Lightweight tent guide, you’ll learn seven practical, field-tested tips to help you compare options with confidence in 2026, so your shelter works with you—not against you—when conditions get real.
Table of Contents
- Know Your Trip Before You Compare Tents
- Set a Realistic Weight Goal
- Lightweight Tent Guide: Understand Tent Types and Setup Styles
- Choose the Right Season Rating
- Compare Fabrics, Poles, and Durability
- Check Livability and Interior Space
- Price, Warranty, and Long-Term Value
1. Know Your Trip Before You Compare Tents
Start with your trips—not the gear wall.
Distance, terrain, and trip length
A weekend at a forest campground two kilometers from the car is very different from a five-day alpine loop. Ask yourself: Am I carrying this 2 km or 20 km? On longer routes with steady elevation gain, shaving weight matters. On short approaches, comfort and storm strength may win.
Typical weather and campsite exposure
Think about where you usually camp. Tree-covered sites block wind. Exposed ridgelines do not. If you frequent national parks or public lands, check weather patterns and safety alerts before buying for a specific region. The NOAA National Weather Service weather safety guidance is a good starting point, especially if you camp in areas prone to sudden storms.
Also review general campground rules and seasonal considerations on official park sites, such as the National Park Service camping safety page. A tent that works in calm valley sites may not be ideal above treeline.
Solo, duo, or tight fit?
A 1-person tent is often just wide enough for a sleeping pad and little else. If you’re broad-shouldered, use a wide pad, or simply dislike tight quarters, consider sizing up. Many solo backpackers happily carry a lightweight 2-person tent for the extra elbow room, especially when paired with insights from an ultralight backpack comparison 2026 guide to balance total pack weight.
2. Set a Realistic Weight Goal
If you want clarity on how to choose a lightweight tent, define what “lightweight” means for you. It’s not one universal number.
Understand packaged vs. minimum trail weight
Manufacturers often list both packaged weight (everything included) and minimum trail weight (usually tent body, fly, and poles). Stakes, extra guylines, and footprints may or may not be counted. Check the brand’s definition carefully before comparing models.
Weight ranges by use case
In general terms, lighter tents use thinner fabrics and minimalist designs. That can mean higher cost and potentially less abrasion resistance. If your routes are rocky or you camp on rough ground, saving a few hundred grams might not justify reduced durability—especially if the rest of your kit isn’t aligned with a broader ultralight backpack comparison strategy for 2026.
Quick decision rule
If storm stability and long-term durability matter more than hitting a specific ultralight benchmark, accept a bit more weight. Picture yourself packing up in cold rain. Would you trade slightly heavier poles for a faster, sturdier pitch? Often, the answer is yes.
3. Lightweight Tent Guide: Understand Tent Types and Setup Styles
Choosing a design is just as important as counting grams.
Freestanding vs. semi-freestanding vs. trekking-pole
Freestanding tents hold their shape with poles alone and are easier to move before staking. They shine on tent platforms or compacted ground.
Semi-freestanding tents need a few stakes to fully tension the structure, usually to secure foot corners.
Trekking-pole tents use your hiking poles as supports. They can be very light, but require solid staking and practice. On rocky terrain where stakes are hard to place, this setup can be frustrating.
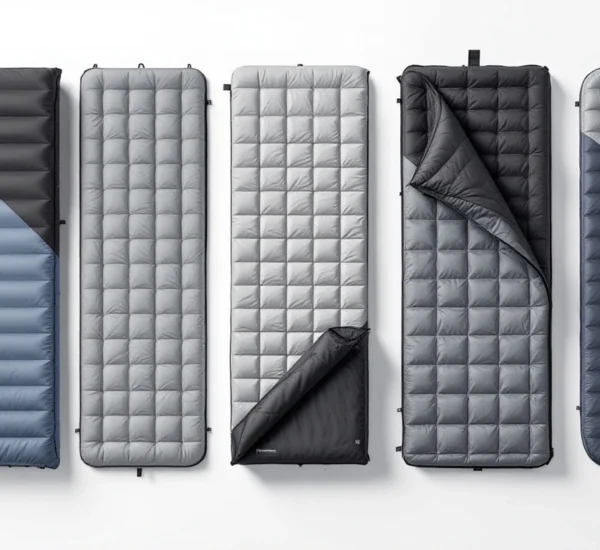
Single-wall vs. double-wall
Single-wall tents reduce weight by combining body and rain protection. Double-wall tents use an inner mesh and separate fly. In humid climates, double-wall designs often manage condensation better. Check vent placement and mesh coverage before deciding.
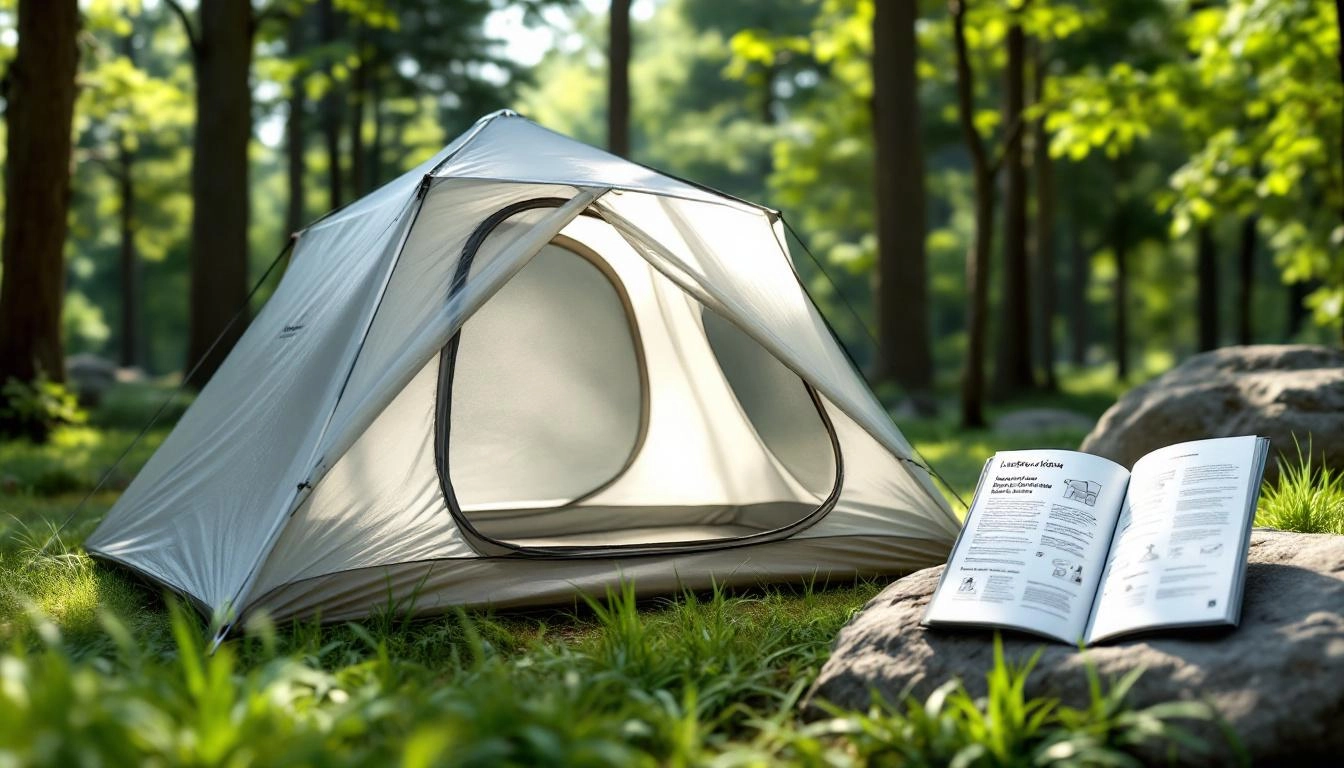
Ease of setup in bad weather
Practice pitching your tent at home. The first time you set it up shouldn’t be in a thunderstorm. If the inner tent pitches first and it’s already raining, you may get the inside wet during setup. Some designs pitch fly-first or all at once—useful in wet conditions.
4. Choose the Right Season Rating
Most backpackers rely on 3-season tents. But it’s worth understanding what that means.
3-season vs. 4-season basics
A typical 3-season tent is built for spring, summer, and fall: rain, moderate wind, and light snow at most. A 4-season tent is stronger, usually with more robust poles and less mesh to handle snow load and high wind. That added strength increases weight.
Shoulder season considerations
Early spring and late fall bring colder nights and unpredictable storms. If you regularly camp in shoulder seasons, look for sturdier poles, reinforced guy points, and good fly coverage—even in a 3-season design.
Ventilation vs. warmth balance
On humid summer nights, airflow matters. On frosty mountain trips, you’ll appreciate reduced drafts. Match the tent to real forecasts, and check official advisories through services like NOAA before heading out.
5. Compare Fabrics, Poles, and Durability
Materials tell you a lot about how a tent will perform over time.
Common fabric types
Nylon and polyester are common in lightweight backpacking tents. Some fabrics are treated or woven for added water resistance and strength. Instead of focusing on marketing terms, review the brand’s specifications and care instructions. Thinner fabrics save weight but demand more campsite awareness—clear sharp sticks and use a groundsheet if needed.
Pole materials
Aluminum poles are widely used for their strength-to-weight balance. If you venture far from trailheads, durability should be high on your list. A broken pole deep in the backcountry is more than an inconvenience.
Zippers, seams, and reinforcements
When your tent arrives, inspect it. Run the zippers. Check seam taping. Look at stress points around guy-out loops. If something feels flimsy in your living room, it won’t improve in wind.
6. Check Livability and Interior Space
Weight matters. So does living in the tent for 12 hours during a storm.
Floor dimensions and peak height
Compare the tent’s floor width to your sleeping pad. Two wide pads in a “2P” tent can be tight. Check peak height to ensure you can sit up comfortably to change clothes, and make sure your pack choice aligns with advice from an ultralight backpack comparison 2026 resource if interior storage will be limited.
Vestibule space
Your vestibule stores wet boots and packs. If it’s tiny, your gear may end up inside the sleeping area. Always follow safe cooking practices and never cook inside your tent; review land management guidance such as the U.S. Forest Service camping guidelines for fire and stove safety.
Doors and airflow
Two doors in a 2-person tent prevent midnight climbing over your partner. For some hikers, the small weight penalty is worth the convenience.
7. Price, Warranty, and Long-Term Value
Budget plays a role, but value goes beyond the price tag.
Budget vs. performance tiers
Lower-cost tents often use heavier materials. That’s not always bad—it can mean improved durability. Higher-end models typically emphasize weight savings and packability.
Warranty and repairability
Before buying, read the company’s warranty terms. Check whether replacement poles and parts are available. A tent that can be repaired easily has a longer, more sustainable life.
When to upgrade
If your current tent limits the seasons you can camp in or feels too cramped for multi-day trips, it might be time. Upgrade for a clear reason, not just because something lighter exists.
Checklist
- Define your typical trip type and weather conditions.
- Set a realistic weight target based on distance and terrain.
- Choose an appropriate season rating.
- Confirm interior dimensions fit your actual sleeping pad and gear.
- Review fabric, pole quality, and reinforcements.
- Practice setup before your first trip.
- Verify local regulations and weather advisories before departure.
Common Mistakes
- Assuming a 1-person tent will feel spacious.
- Ignoring vestibule size until the first all-day rain.
- Equating “ultralight” with storm-proof.
- Not checking packed size against backpack capacity.
- Skipping official park guidance and weather forecasts.
Frequently Asked Questions
How do I choose the right size when learning how to choose a lightweight tent?
Start with your sleeping pad dimensions and add realistic space for gear. If you value comfort or expect storm days inside the tent, consider sizing up. Many solo backpackers prefer a 2-person model for extra room.
What is the ideal weight for a backpacking tent in 2026?
There isn’t one perfect number. Check brand specifications and compare packaged versus minimum weight. Balance weight against durability, weather resistance, and interior space.
Is a 1-person tent big enough for gear?
Often, gear must go in the vestibule. If the vestibule is small, interior storage will be limited. For extended trips, a slightly larger tent can feel more manageable.
What makes a good 3-season tent for beginners?
Look for straightforward setup, solid rain protection, reliable poles, and adequate ventilation. A freestanding 3-season tent is usually the most beginner-friendly choice.
How does this Lightweight tent guide help compare freestanding and trekking-pole tents?
This Lightweight tent guide highlights practical trade-offs: freestanding tents are easier on firm ground or platforms, while trekking-pole tents can reduce carried weight but require precise staking and experience.
Are lightweight tents durable enough for windy conditions?
Many are, if properly pitched and guyed out. Focus on pole strength, guy-out points, and overall design. In exposed terrain, prioritize structural stability over the lowest weight.
Should I always choose the lightest option available?
No. The lightest option may sacrifice durability or comfort. Choose the lightest tent that still meets your needs for weather protection and livability.
Conclusion
Learning how to choose a lightweight tent comes down to balance. Match the tent to your real trips, typical weather, and comfort preferences—not fantasy expeditions or marketing buzzwords. A well-chosen shelter makes long miles easier and stormy nights manageable. Before you buy, review your next planned route, check the forecast, and walk through this checklist again. When you understand how to choose a lightweight tent for your style of camping, every step into the backcountry feels lighter—because you trust the shelter on your back.