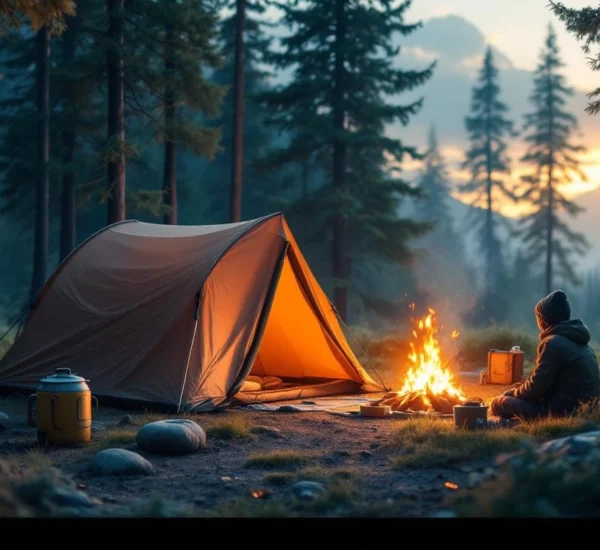
By mile three of my first backpacking trip, my shoulders were throbbing. I’d packed for every “what if” scenario—extra clothes, backup gadgets, a full-size towel. When the rain started, I had to unpack half my bag just to find my jacket. A simple ultralight camping checklist with 10 proven minimalist camping essentials would have saved me from that mess. A smart Ultralight camping checklist isn’t about bragging rights or chasing a number on a scale. It’s about carrying what you’ll actually use, staying safe, and moving through the trail with more freedom. In this guide, you’ll learn what to pack, what to leave behind, and how to tailor your setup to distance, terrain, water access, and shifting weather.
Table of Contents
- Why Go Ultralight in the First Place?
- What to Include in Your Ultralight Camping Checklist
- 10 Smart Tips to Cut Weight Without Regret
- Customize Your Checklist by Season and Terrain
- Safety, Comfort, and the “Stupid Light” Line
- Budget-Friendly Ways to Go Ultralight
Why Go Ultralight in the First Place?
Going lighter changes how a trip feels. Long climbs become steady and manageable instead of a grind. You recover faster at camp. You notice the landscape instead of counting down steps.
How Lighter Packs Change Your Hiking Experience
Compare a 35-pound pack to something closer to 20. Your hips rotate more naturally. Your knees don’t take the same pounding on descents. Creek crossings feel less wobbly. By day two, you’re less likely to wake up stiff and dreading the miles ahead.
If you’re planning big elevation gain or uneven terrain, shaving weight matters even more. On rocky trails, balance is everything.
The Trade-Offs: Comfort vs. Weight
Lighter gear often means slimmer sleeping pads, smaller shelters, and fewer “luxury” extras. The key question is simple: will dropping this item increase risk or meaningfully reduce sleep and recovery?
If cutting something means you’ll lie awake shivering or skip meals because cooking feels like a chore, it’s not worth it. Discomfort that compounds over three nights can turn a good trip into a slog.
Who Should (and Shouldn’t) Go Ultralight Yet
Beginners can absolutely follow an ultralight path—but not by skipping safety gear. If you’re new, focus first on solid navigation, shelter setup, and weather awareness. Use a practical minimalist backpacking gear checklist to understand which items truly matter before trimming aggressively.
No one should chase weight numbers at the expense of judgment.
What to Include in Your Ultralight Camping Checklist
Your Ultralight camping checklist should cover the essentials without duplication. Think in systems: shelter, sleep, clothing, food, water, navigation, and safety. Each category earns its spot by protecting you from exposure, dehydration, hunger, or getting lost—exactly what a detailed ultralight camping checklist for minimalist hikers is designed to clarify.
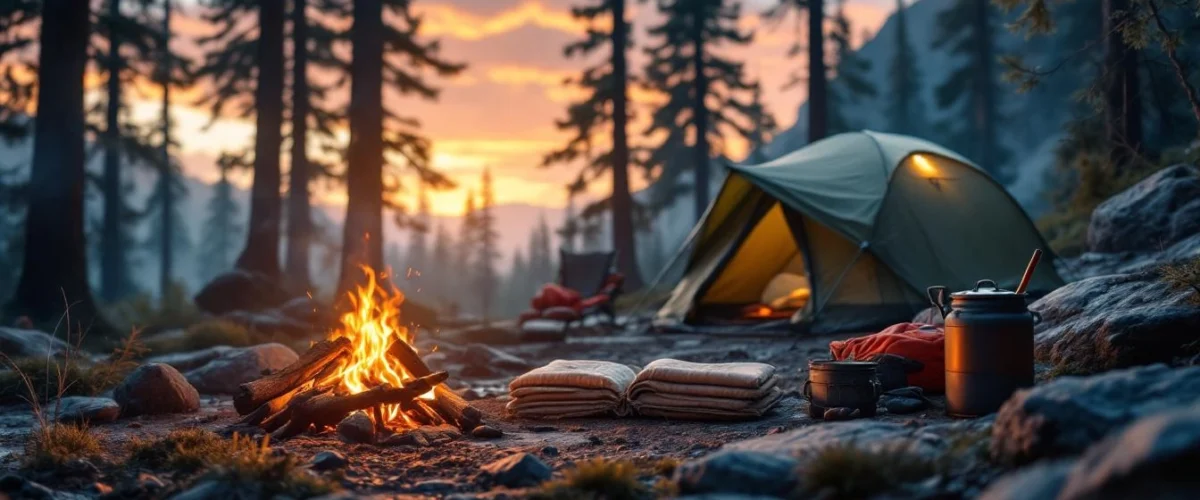
The Big Three: Shelter, Sleep System, Backpack
This is where most base weight lives.
Shelter: Tent or tarp, stakes, and a groundsheet if needed. If you expect rocky ground above treeline, a freestanding tent can save frustration. In forested areas with solid tree spacing, a tarp may work well. Check typical campsite conditions before choosing.
Sleep system: Sleeping bag or quilt plus an insulated pad. Don’t focus only on air temperature—cold ground pulls heat fast. If you tend to sleep cold, prioritize pad insulation.
Backpack: Choose a pack that fits your torso and comfortably carries your realistic load. A poorly fitted ultralight pack can hurt more than a slightly heavier, well-designed one.

Clothing: Layering Without Overpacking
Stick to a simple system:
- Base layer (moisture-wicking)
- Insulating layer (fleece or lightweight down/synthetic)
- Waterproof or windproof shell
Pack for the lowest expected nighttime temperature, not just sunny trail photos. Before leaving, check the latest forecast at weather.gov. If temperatures or storm risk look borderline, add insulation—not extra casual wear.
Food, Water, and Cooking Setup
Some hikers cook, others cold soak. A small stove and pot offer hot meals and morale on wet evenings. Cold soaking eliminates fuel weight but requires meal planning discipline.
Choose calorie-dense foods that don’t require excessive packaging. For water, carry only what you need between reliable sources. Always confirm water availability and restrictions for your destination through official land managers such as the U.S. Forest Service Know Before You Go page.
Use a dependable filtration or purification method. If local advisories mention contamination, adjust accordingly.
10 Smart Tips to Cut Weight Without Regret
1. Weigh Everything (Yes, Everything)
Use a small kitchen scale. Write down each item’s weight. Heavy culprits usually surprise you—often in clothing or “just in case” gear.
2. Question Every “Just in Case” Item
If you’ve never used that backup gadget in five trips, leave it home. Real emergency gear stays. Random extras go.
3. Swap Multi-Use Gear
A buff can serve as a hat, neck gaiter, or pillow cover. Trekking poles can support some shelters. Think overlap.
4. Downsize Toiletries
Repackage soap, sunscreen, and toothpaste into tiny containers. For short trips, you need less than you think.
5. Choose Calorie-Dense Foods
Look for foods that provide sustained energy without bulk. Nuts, nut butters, and dehydrated meals pack better than canned or water-heavy items.
6. Share Gear in Groups
One stove, one repair kit, one comprehensive first aid kit—if everyone agrees on the plan. Confirm who carries what before leaving the trailhead.
7. Trim Redundancies
One knife. One mug. One light source plus spare batteries. Duplicates add up fast.
8. Optimize Your First Aid Kit
Tailor it to trip length and remoteness. For deep backcountry routes, keep essentials for bleeding control, blisters, and common strains. Review backcountry safety basics through the National Park Service backcountry safety guidance before finalizing.
9. Upgrade Strategically (Not All at Once)
If you invest in lighter gear, start with your heaviest items. Big upgrades in shelter, sleep system, or pack have more impact than shaving grams from accessories.
10. Test at Home Before the Trip
Spend a night in your backyard or a local park. Practice pitching your shelter quickly. Try setting it up in the rain with gloves on. Better to fumble at home than in a storm at 10,000 feet.
Customize Your Checklist by Season and Terrain
Summer vs. Shoulder Season Adjustments
Summer trips may allow for lighter insulation and simpler sleep systems. Shoulder seasons demand more caution—extra insulation, reliable rain gear, and careful monitoring of forecasts.
Always verify current conditions, closures, and permit requirements at Recreation.gov or the relevant park website.
Mountain, Desert, or Forest Conditions
Desert routes often require longer water carries. Plan container capacity accordingly. Mountain environments can shift from sun to hail quickly. Forested areas may bring insects—adjust shelter and clothing.
In bear country, follow local storage rules and food handling requirements. Regulations vary by park and forest.
Trip Length and Resupply Points
Food weight changes daily. On longer routes with resupply stops, focus on keeping base weight manageable. On short trips, simplicity wins—fewer meals, fewer decisions. Reviewing a streamlined ultralight gear list for short backpacking trips can help you strip your kit down to true essentials.
Safety, Comfort, and the “Stupid Light” Line
What Never to Cut From an Ultralight Camping Checklist
- Navigation tools (map, compass, or reliable GPS)
- Weather protection (rain shell, shelter)
- Emergency insulation
- Light source
These are non-negotiable ultralight hiking essentials.
Reading Weather and Park Advisories
Before departure, check forecasts and alerts. Watch for wind warnings, flash flood risks, or wildfire restrictions. Conditions change quickly, especially in exposed terrain.
Comfort Items That May Be Worth the Weight
If a thicker pad means you actually sleep, carry it. If morning coffee boosts morale after cold rain, bring the small stove. Honest self-assessment leads to better trips.
Budget-Friendly Ways to Go Ultralight
Lighten What You Already Own
Remove unused straps. Swap bulky stuff sacks for lighter alternatives. Repackage items to fit your pack better.
DIY and Small Tweaks
Consider lighter stakes if your current ones are overbuilt for your conditions. Some hikers trim toothbrush handles, but do so carefully and avoid compromising hygiene or safety.
When to Invest in Premium Gear
If you backpack regularly, evaluate cost per use. An upgraded shelter or sleep system may improve every trip for years. Prioritize items that affect comfort and safety the most.
Checklist
- Backpack (comfortable fit; realistic base weight goal)
- Shelter (tent/tarp + stakes + groundsheet)
- Sleep system (bag/quilt, insulated pad)
- Clothing layers (worn + packed insulation and shell)
- Food + cook system (or cold soak setup)
- Water storage + treatment
- Navigation (map, compass, GPS)
- First aid + emergency items
- Headlamp
- Personal essentials (ID, required permits)
Adjust this list based on season, terrain, distance between water sources, and current regulations.
Common Mistakes
- Chasing lighter weight at the expense of safety.
Fix: Keep core safety gear and trim elsewhere. - Copying someone else’s ultralight camping checklist blindly.
Fix: Adapt for your climate, fitness, and experience. - Ignoring local wildlife regulations.
Fix: Check official park guidance before packing food storage. - Testing new gear deep in the backcountry.
Fix: Do a short overnight shakedown first. - Underestimating cold ground impact.
Fix: Choose an appropriate sleeping pad for conditions.
Frequently Asked Questions
What is an ultralight camping checklist and how is it different from a regular packing list?
An ultralight camping checklist prioritizes essential systems and eliminates redundancy. Unlike a general packing list, it evaluates every item by weight, function, and necessity.
How do I build an ultralight camping checklist for a 3-day trip?
Start with shelter, sleep system, clothing layers, food, water treatment, and navigation. Estimate food realistically for three days and review the forecast. Remove duplicates and unnecessary extras.
What should never be removed from an Ultralight camping checklist?
Never cut navigation tools, weather protection, emergency insulation, or reliable lighting. These protect you from preventable emergencies.
How much weight should an ultralight camping checklist aim for?
There isn’t a single right number. Conditions, body size, and trip style all matter. Focus on carrying only what supports safety and rest rather than chasing arbitrary targets.
Can beginners follow the same ultralight camping checklist as experienced backpackers?
Yes, but beginners should be conservative. Keep safety margins wider until you gain experience with weather, terrain, and your own limits.
Is an ultralight camping checklist safe for mountain or bear country?
It can be, provided you follow local regulations for food storage and monitor conditions closely. Safety gear stays; luxury items go.
Do I need expensive gear to create a good ultralight camping checklist?
No. Start by removing unnecessary items and optimizing what you already own. Upgrade strategically over time.
Conclusion
A thoughtful ultralight camping checklist isn’t about suffering with less—it’s about walking farther with more confidence. When your pack feels balanced and intentional, you move better, rest better, and handle surprises with a clear head. Before your next trip, personalize your ultralight camping checklist for the exact route, season, and forecast. Then test it on a short overnight. Dial it in. The reward is simple: more freedom on the trail and fewer regrets when the miles add up.