You hike in with a trimmed-down pack, feeling proud of every ounce you left behind. By midnight, the wind shifts, the temperature drops fast, and suddenly your “minimal” setup feels thin. Most issues in minimalist camping show up exactly like this—small decisions made at home collide with real weather, real terrain, and real fatigue. Many Minimalist camping challenges don’t come from going light; they come from cutting the wrong things. In this guide, you’ll find seven field-tested tips to stay safe without overpacking. You’ll learn what to trim, what never to skip, and how to adjust your gear and judgment to match conditions on the ground.
Table of Contents
- Why Minimalist Camping Goes Wrong
- Tip 1 – Don’t Compromise on Shelter and Sleep
- Tip 2 – Master Water and Food Planning
- Tip 3 – Plan for Weather Extremes
- Tip 4 – Manage Navigation and Communication
- Tip 5 – Know Your Physical Limits
- Tip 6 – Respect Safety Rules and Wildlife Risks
- Tip 7 – Build a Smart Backup System
Why Minimalist Camping Goes Wrong
Most problems start before you ever reach the trailhead. You read a few packing lists, see what ultralight hikers carry, and assume your local overnight trip requires the same setup. But conditions, terrain, and personal tolerance vary.
The Most Common Minimalist Camping Challenges
These are the patterns I see again and again:
- Over-cutting essential safety gear.
- Ignoring environmental risks like cold ground, high wind, or limited water sources.
- Bringing new, untested equipment straight into the backcountry.
A simple decision filter helps: If this fails, what’s my backup? If you don’t have an answer, you cut too far. For a deeper breakdown of these patterns, review this guide to common minimalist camping mistakes and how to fix them before your next trip.
The Real Trade-Off: Weight vs. Safety
Shaving grams feels good in the living room. On the trail, those grams often represent insulation, calories, or light. Never cut items that protect you from cold, dehydration, or injury. A lighter pack is helpful. A safe margin is essential.
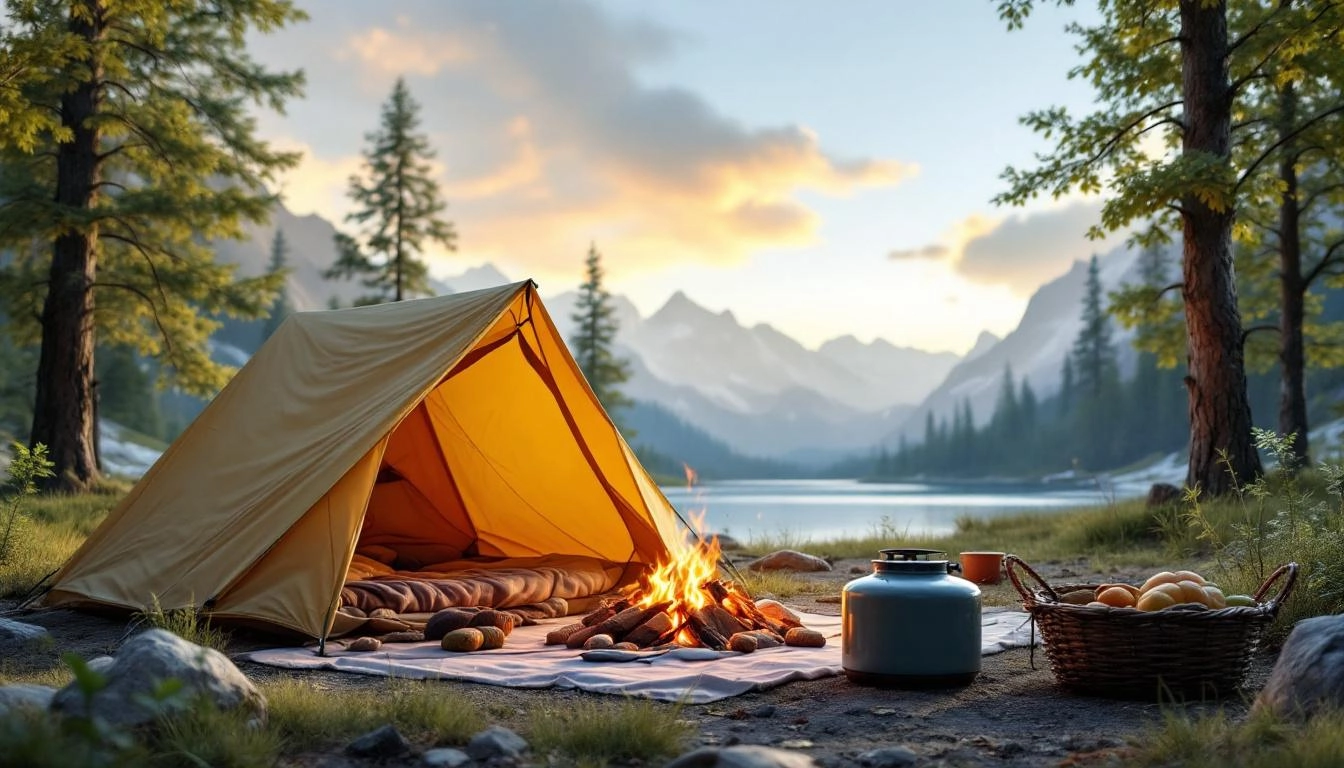
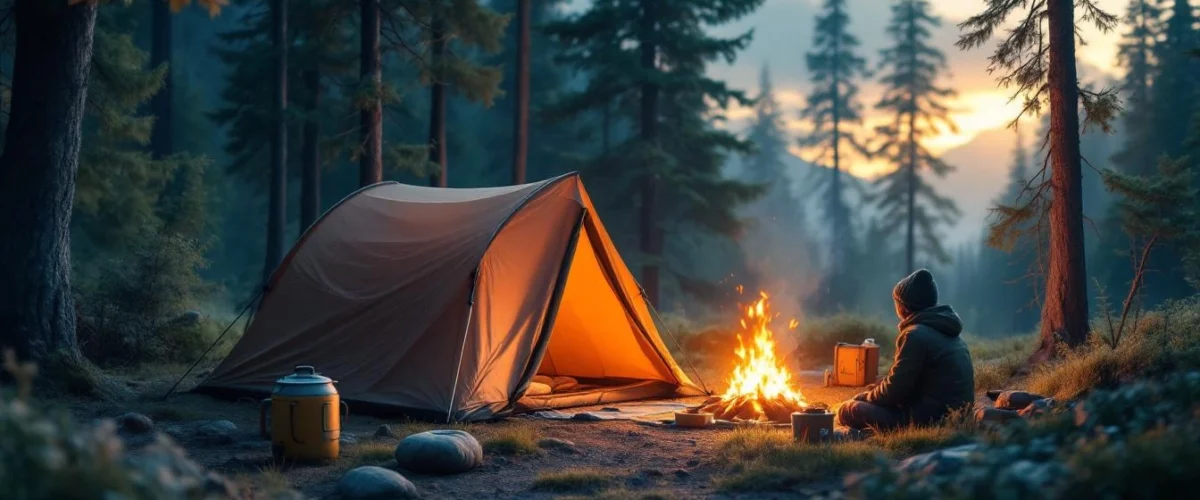
Tip 1 – Don’t Compromise on Shelter and Sleep
If there’s one place to stay conservative, it’s your shelter and sleep system.
Choosing Lightweight but Weather-Ready Shelter
Tarps, ultralight tents, and bivy sacks all reduce weight—but each comes with limits.
- Tarp: Flexible and light, but requires skillful site selection and setup.
- Ultralight tent: Slightly heavier, better insect and storm protection.
- Bivy: Compact, but can feel restrictive in prolonged bad weather.
On-site, check wind direction before pitching. Look for natural windbreaks, but avoid dead branches overhead. Press your palm into the soil—if it’s damp at sunset, expect moisture overnight.
Sleep Systems That Actually Prevent Hypothermia
Sleeping bag temperature ratings are standardized under controlled testing conditions. Treat them as survival numbers, not comfort guarantees. If nighttime lows are predicted near the bag’s rating, add insulation.
Cold usually rises from the ground first. A quality sleeping pad with proper insulation matters as much as the bag. If you wake up chilled at home during a backyard test, it will feel worse when you’re tired and exposed.
Quick Comfort Test Before You Leave
Set up in your yard or at a local campground. Sleep through one full night. If you’re adjusting layers constantly or waking up cold, refine your system before heading farther out.
Tip 2 – Master Water and Food Planning
Water mistakes escalate quickly. Clear streams can still contain harmful microorganisms.
Minimal Water Filtration That’s Still Safe
Lightweight filters remove most bacteria and protozoa. Chemical treatments are compact backups but require wait time. Many experienced hikers carry both in small form.
Follow backcountry safety practices outlined by the National Park Service’s backcountry safety guidance. And remember: water clarity does not equal safety.
Calorie-Dense but Realistic Meal Planning
Minimalism often leads to underpacking food. Cold weather and steep climbs spike hunger fast.
- Pack calorie-dense snacks you can eat without cooking.
- Plan extra fuel if your meals require boiling water.
- Carry a small reserve snack for emergencies.
If you’re rationing by day one evening, increase intake immediately. Fatigue and poor decisions tend to follow low calories—another pattern frequently discussed in minimalist camping risk management strategies.
Tip 3 – Plan for Weather Extremes
Forecasts are tools, not guarantees.
How to Check Forecasts the Smart Way
Use official sources such as the National Weather Service safety pages for hazard outlooks. In mountain or coastal areas, check elevation-specific predictions. A valley forecast may not reflect ridge conditions.
Layering Without Overpacking
A simple system works:
- Moisture-wicking base layer.
- Insulating mid-layer.
- Windproof or waterproof shell.
Before your trip, hike uphill fully layered. If you overheat within minutes, adjust. Managing sweat is as important as blocking rain.
Know When to Abort the Trip
If severe storms, wildfire risk, or emergency advisories appear, postpone. Preparedness guidance from GetPrepared.gc.ca reinforces one key idea: risk reduction starts before exposure. Leaving early is judgment, not weakness.
Tip 4 – Manage Navigation and Communication
Phones lose battery. Signals disappear. Trails fade.
Why Minimalism Shouldn’t Mean No Backup Navigation
Carry a physical map and know how to orient it. A small compass weighs little but provides critical redundancy. Keep electronics warm in cold conditions to preserve battery life.
Emergency Communication Planning
Always tell someone your route and return time. In remote regions, assume there is no signal. If you change plans mid-trip, update your contact if possible.
Tip 5 – Know Your Physical Limits
Even lightweight packs strain untrained bodies.
Pack Weight vs. Fitness Reality
A manageable load depends on terrain, experience, and conditioning. Do a local training hike with full gear. If your shoulders ache early or your pace drops sharply uphill, adjust weight or distance.
Recognizing Early Signs of Fatigue or Dehydration
Watch for dizziness, irritability, slowed pace, or dark urine. Stop immediately, hydrate, and eat. Short breaks prevent bigger problems later.
Tip 6 – Respect Safety Rules and Wildlife Risks
Minimal gear doesn’t exempt you from local regulations.
Food Storage in Bear or Wildlife Areas
Follow official regulations for the area you’re visiting. The Leave No Trace principles emphasize proper food storage to protect both wildlife and campers. Look around camp for signs: claw marks on trees, scat, posted warnings.
Fire Safety With Minimal Gear
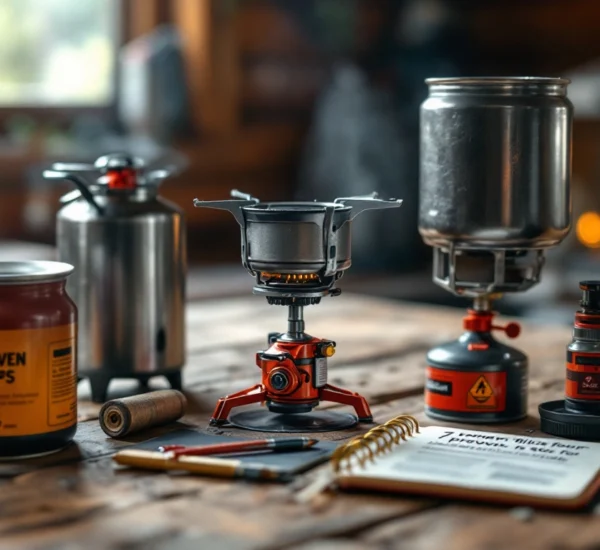
Check for fire bans before lighting anything. If conditions are dry or windy, skip the fire altogether. A compact stove is usually safer and more predictable.
Tip 7 – Build a Smart Backup System
Smart minimalism plans for failure without packing duplicates of everything.
The “Failure Test” for Every Item
Ask:
- If my primary light fails, what then?
- If my filter clogs, how will I purify water?
- If my jacket gets soaked, what keeps me warm?
Redundancy is justified for water purification, light, and insulation. Not much else. Building these layers of protection is central to overcoming minimalist camping challenges with smart backups instead of extra weight.
Mental Preparedness and Exit Plans
Mark the nearest road, ranger station, or bailout trail on your map. Conditions change. Your energy changes. Pride should never override safety.
Checklist
- Shelter tested in realistic conditions
- Verified weather forecast from official source
- Reliable water treatment with backup method
- Emergency contact informed of route and timeline
- Food stored according to park rules
- Layering system matched to forecast
- Clear turnaround time set
Common Mistakes
- Cutting first-aid supplies to save weight.
- Ignoring local regulations on fires or food storage.
- Assuming clear skies mean stable weather.
- Bringing new, untested gear.
- Underestimating calorie needs.
Frequently Asked Questions
What are the most common issues in minimalist camping for beginners?
The biggest issues in minimalist camping involve cutting essential gear too aggressively—especially insulation, water treatment, and navigation backups. Beginners often underestimate cold ground temperatures and overestimate cell signal coverage.
How do you handle Minimalist camping challenges without overpacking?
Focus on risk categories: cold, water, navigation, and injury. Keep solid solutions for those four areas. Trim luxury or duplicate comfort items first, not safety gear.
Is minimalist camping safe in cold or rainy weather?
Yes, if your shelter, insulation, and layering system are appropriate for the forecasted lows and precipitation. Always check official weather sources and add a margin of warmth beyond the expected temperature.
What gear should you never remove when reducing pack weight?
Reliable insulation, a dependable water treatment method, basic first-aid supplies, and navigation tools. These manage the highest-risk scenarios.
How can I reduce issues in minimalist camping while staying ultralight?
Test your gear locally, build redundancy only for critical systems, and verify forecasts and regulations before departure. Smart preparation reduces weight-driven mistakes.
Are minimalist camping challenges different in national parks vs. backcountry areas?
Regulations, wildlife presence, and rescue access vary. National parks may require specific food storage methods. Remote backcountry areas demand stronger self-sufficiency and communication planning.
Conclusion
The real issues in minimalist camping aren’t about giving up comfort—they’re about making disciplined decisions. Minimalist camping challenges become manageable when you cut wisely, not blindly. Keep protection against cold, dehydration, and disorientation. Test your shelter before the trip. Check official forecasts. Tell someone your plan. Review your current gear list tonight and apply these seven safety checks before your next outing. When minimalism is guided by judgment, it leads to freedom—not unnecessary risk.